Last update of this page: March 16, 2026
Getting Access to LUMI
LUMI is part of the EuroHPC ecosystem
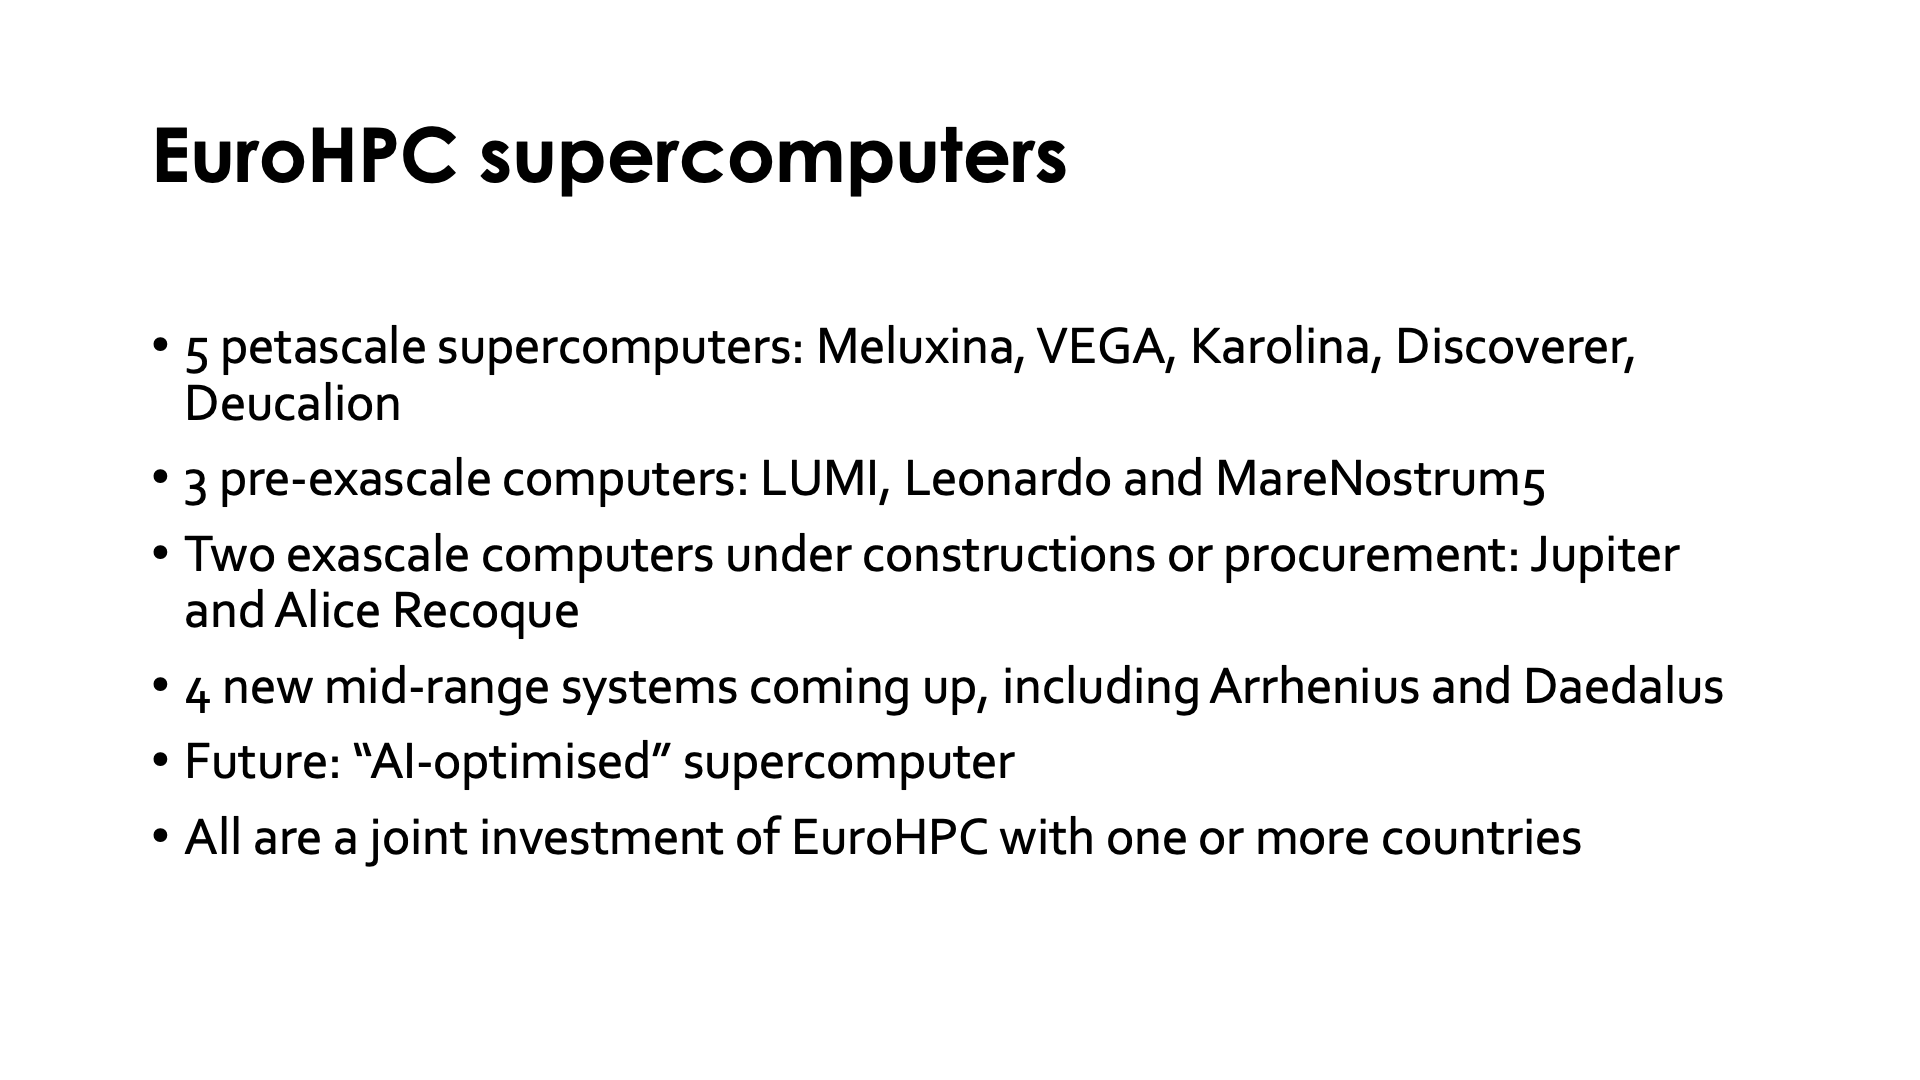
EuroHPC currently funds supercomputers in four different classes:
-
There are a number of so-called petascale supercomputers. The first ones of those are Meluxina (in Luxembourg), VEGA (in Slovenia), Karolina (in the Czech Republic), Discoverer (in Bulgaria) and Deucalion (in Portugal).
-
A number of pre-exascale supercomputers, LUMI being one of them. The other two are Leonardo (in Italy) and MareNostrum 5 (in Spain)
-
Already two exascale supercomputers: Jupiter (in Germany) is already in operation and Alice Recoque, hosted by the Jules Verne consortium (in France) is under procurement.
-
Another 2 mid-range systems are currently under procurement or under construction: Daedalus (in Greece) and Arrhenius (in Sweden).
-
Various upgrades are planned to the current systems and there is also a programme for "AI-optimised" supercomputers, whatever that may mean, as these will be very large systems serving lots of users so there will still be lots of technological compromises.
Depending on the machine, EuroHPC pays one third up to half of the bill, while the remainder of the budget comes from the hosting country, usually with the help of a consortium of countries. For LUMI, EuroHPC paid half of the bill and is the actual owner of the machine.
Who pays the bills for LUMI?

LUMI is hosted in Finland but operated by a consortium of 11 countries, with Belgium being the third largest contributor to LUMI and the second largest in the consortium of countries. The Belgian contribution is brought together by 4 entities:
- BELSPO, the science agency of the Federal government, invested 5M EURO in the project.
- The SPW Économie, Emploi, Recherche from Wallonia also invested 5M EURO in the project.
- The Department of Economy, Science and Innovation (EWI) of the Flemish government invested 3.5M EURO in the project.
- Innoviris (Brussels) invested 2M EURO.
The resources of LUMI are allocated proportional to the investments. As a result EuroHPC can allocate half of the resources. The Belgian share is approximately 7.4%.
Each LUMI consortium country can set its own policies for a national access program, within the limits of what the supercomputer can technically sustain. In Belgium, the 4 entities that invested in LUMI do so together via a competition (3 calls a year for regular projects). The access conditions for projects in the Belgian share are advertised via the EuroCC Belgium National Competence Centre. As Belgium is fully responsible for the allocation of its share, the central LUMI User Support Team (LUST) cannot manage allocations. It makes no sense to send them requests for a larger allocation or project extension.
Web links:
- EuroHPC JU supercomputers
- EuroCC Belgium National Competence Centre with the specifics of LUMI access via the Belgian share.
Users and projects
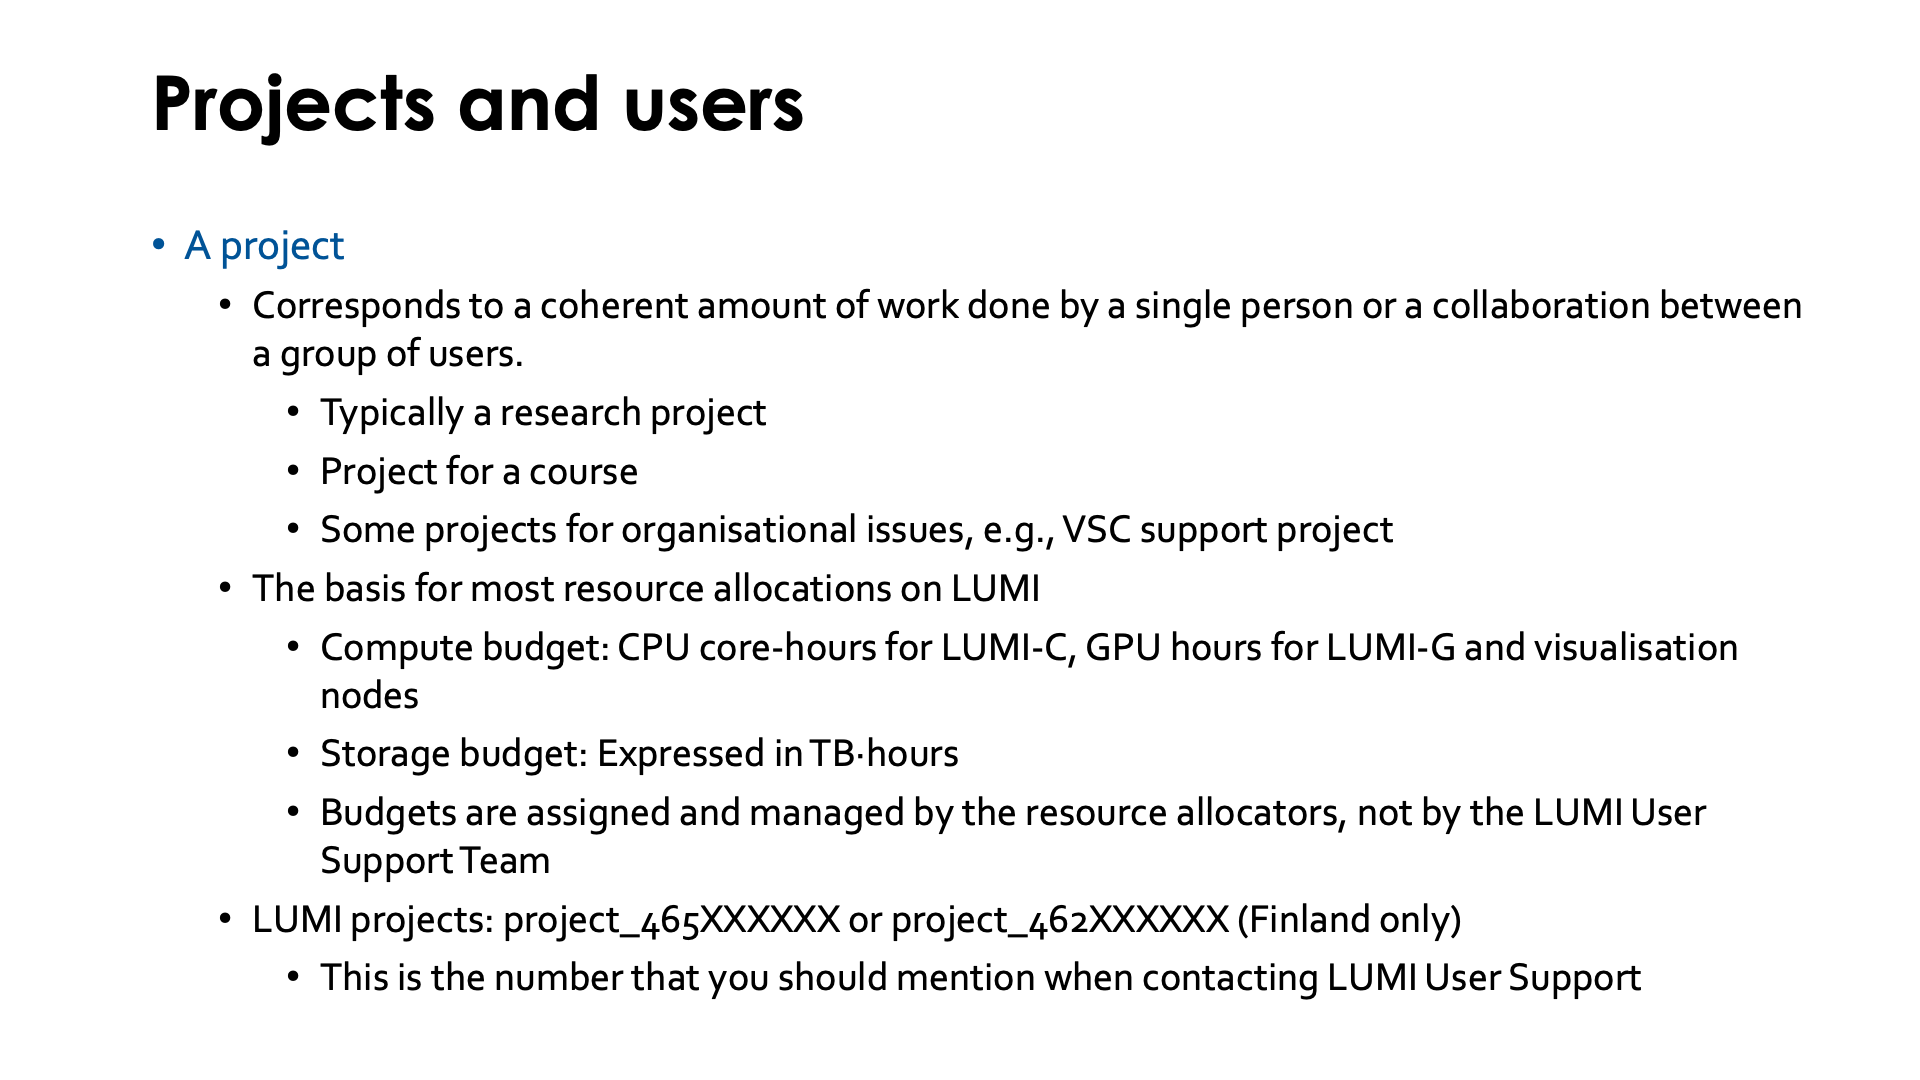
LUMI works like most European large supercomputers: Users are members of projects.
Projects are also the basis for most research allocations on LUMI. In LUMI there are three types of resource allocations, and each project needs at least two of them:
- A compute budget for the CPU nodes of LUMI (LUMI-C and the CPU-only large memory nodes), expressed in core-hours.
- A compute budget for the GPU nodes of LUMI (LUMI-G and the visualisation nodes), expressed in GPU-hours. As the mechanism was already fixed before it became publicly known that for all practical purposes one AMD MI250X GPU should really be treated as 2 GPUs, one GPU-hour is one hour on a full MI250X, so computing for one hour on a full LUMI-G GPU node costs 4 GPU-hours.
- A storage budget which is expressed in TB-hours. Only storage that is actually being used is charged on LUMI, to encourage users to clean up temporary storage. The rate at which storage is charged depends on the file system, but more about that later when we discuss the available file spaces.
These budgets are assigned and managed by the resource allocators, not by the LUMI User Support Team. For Belgium the VSC and CÉCI both have the role of resource allocator, but both use a common help desk.
LUMI projects will typically have multiple project numbers which may be a bit confusing:
- Each RA may have its own numbering system, often based on the numbering used for the project requests. Note that the LUMI User Support Team is not aware of that numbering as it is purely internal to the RA.
-
Each project on LUMI also gets a LUMI project ID which also corresponds to a Linux group to manage access to the project resources. These project IDs are of the form
project_465XXXXXXfor most projects butproject_462XXXXXXfor projects that are managed by the internal system of CSC Finland.This is also the project number that you should mention when contacting the central LUMI User Support.

Besides projects there are also user accounts. Each user account on LUMI corresponds to a physical person, and user accounts should not be shared. Some physical persons have more than one user account but this is an unfortunate consequence of decisions made very early in the LUMI project about how projects on LUMI would be managed. Users themselves cannot do a lot without a project as all a user has on LUMI is a small personal disk space which is simply a Linux requirement. To do anything useful on LUMI users need to be member of a project. In fact, if you have no project on LUMI, your account will even be disabled. There are also "robot accounts" for special purposes that would not correspond to a physical person but have a specific goal (like organising data ingestion from an external source) but few projects are granted such an account.
There is a many-to-many mapping between projects and user accounts. Projects can of course have multiple users who collaborate in the project, but a user account can also be part of multiple projects. The latter is more common than you may think, as. e.g., you may become member of a training project when you take a LUMI training.
Most resources are attached to projects. The one resource that is attached to a user account is a small home directory to store user-specific configuration files. That home directory is not billed but can also not be extended. For some purposes you may have to store things that would usually automatically be placed in the home directory in a separate directory, e.g., in the project scratch space, and link to it. This may be the case when you try to convert big docker containers into singularity containers as the singularity cache can eat a lot of disk space. (Or sometimes setting an environment variable is enough to redirect to a different directory.)
Project management
A large system like LUMI with many entities giving independent access to the system to users needs an automated system to manage those projects and users. There are two such systems for LUMI. CSC, the hosting institution from Finland, uses its own internal system to manage projects allocated on the Finnish national share. This system manages the "642"-projects. The other system is called Puhuri and is developed in a collaboration between the Nordic countries to manage more than just LUMI projects and is based on Waldur. It can be used to manage multiple supercomputers but also to manage access to other resources such as experimental equipment. Puhuri projects can span multiple resources (e.g., multiple supercomputers so that you can create a workflow involving Tier-2, Tier-1 and Tier-0 resources).
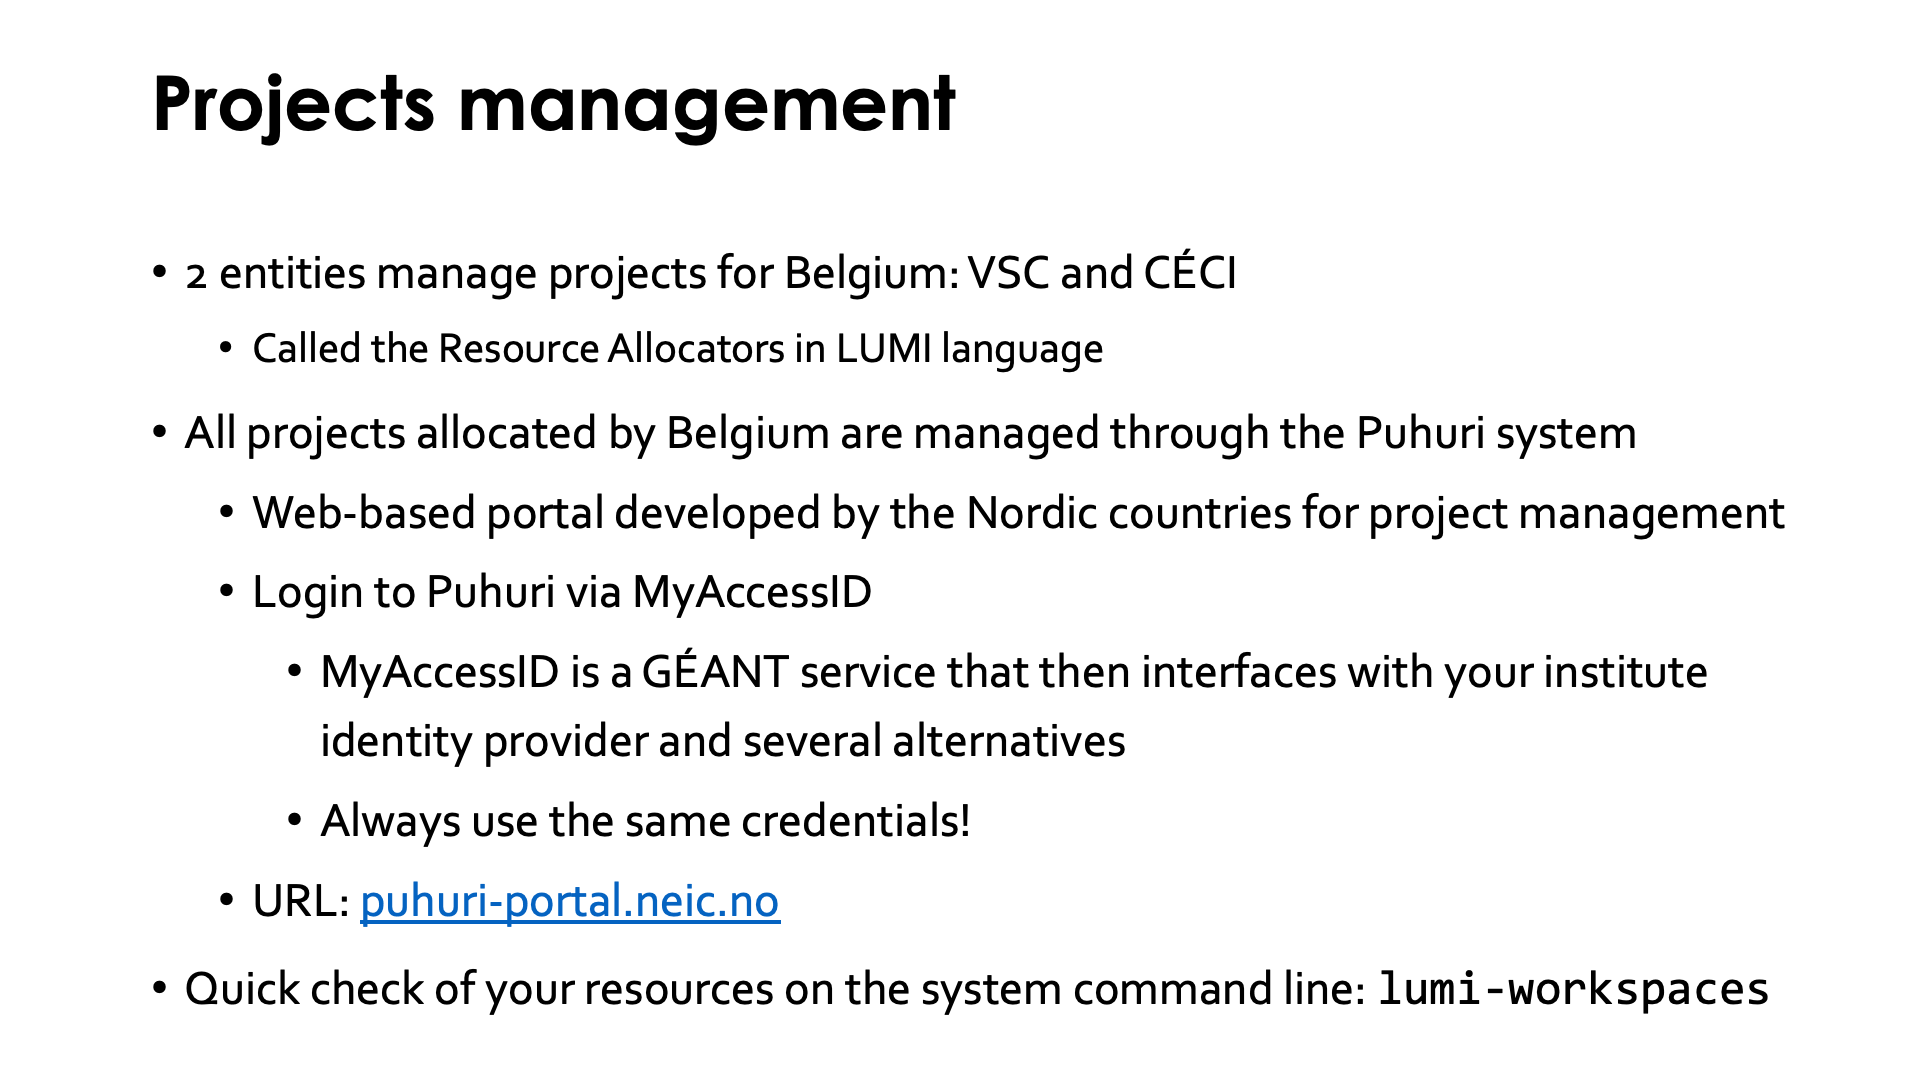
In Belgium two entities manage projects for the Belgian LUMI organisation: VSC and CÉCI. These entities are called the resource allocators.
All projects allocated by Belgium are managed through the Puhuri system, and VSC and CÉCI both have their own zone in that system. For Belgium it is only used to manage access to LUMI, not to any of the VSC, CÉCI or Cenaero systems or other infrastructure. Belgian users log in to the Puhuri portal via MyAccessID, which is a GÉANT service. GÉANT is the international organisation that manages the research network in Europe. MyAccessID then in turn connects to your institute identity provider and a number of alternatives. It is important that you always use the same credentials to log in via MyAccessID, otherwise you create another user in MyAccessID that is unknown to Puhuri and get all kinds of strange error messages.
The URL to the Puhuri portal is: puhuri-portal.neic.no.
Puhuri can be used to check your remaining project resources, but once your user account
on LUMI is created, it is very easy to do this on the command line with the
lumi-workspaces command.
Web links
-
Puhuri documentation, look for the "User Guides".
-
The
lumi-workspacescommand is provided through thelumi-toolsmodule which is loaded by default. The command will usually give the output you need when used without any argument.
File spaces
LUMI has file spaces that are linked to a user account and file spaces that are linked to projects.
Per-user file spaces
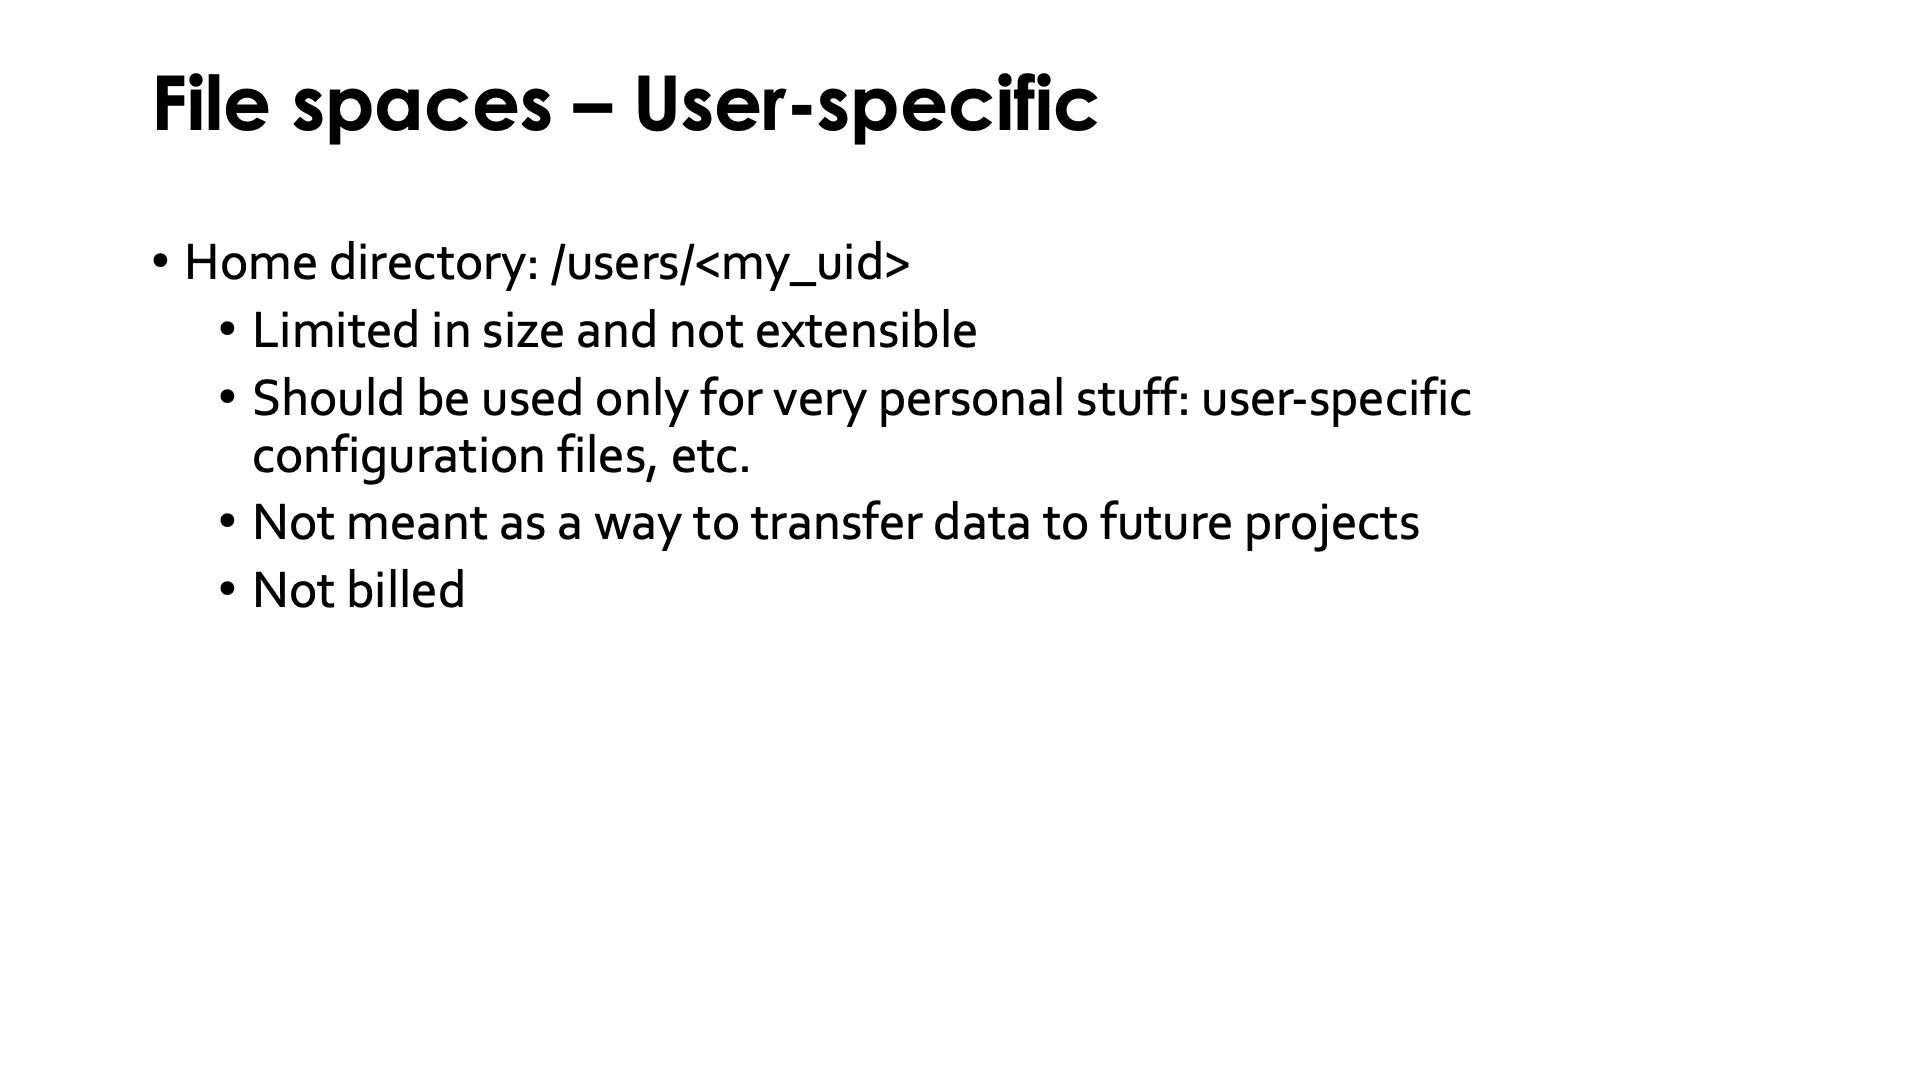
The only permanent file space linked to a user account is the home directory which is of the form
/users/<my_uid>. It is limited in both size and number of files it can contain, and neither limit
can be expanded. It should only be used for things that are not project-related and first and
foremost for those things that Linux and software automatically stores in a home directory like
user-specific software configuration files. It is not billed as users can exist temporarily without
an active project but therefore is also very limited in size.
Per-project file spaces
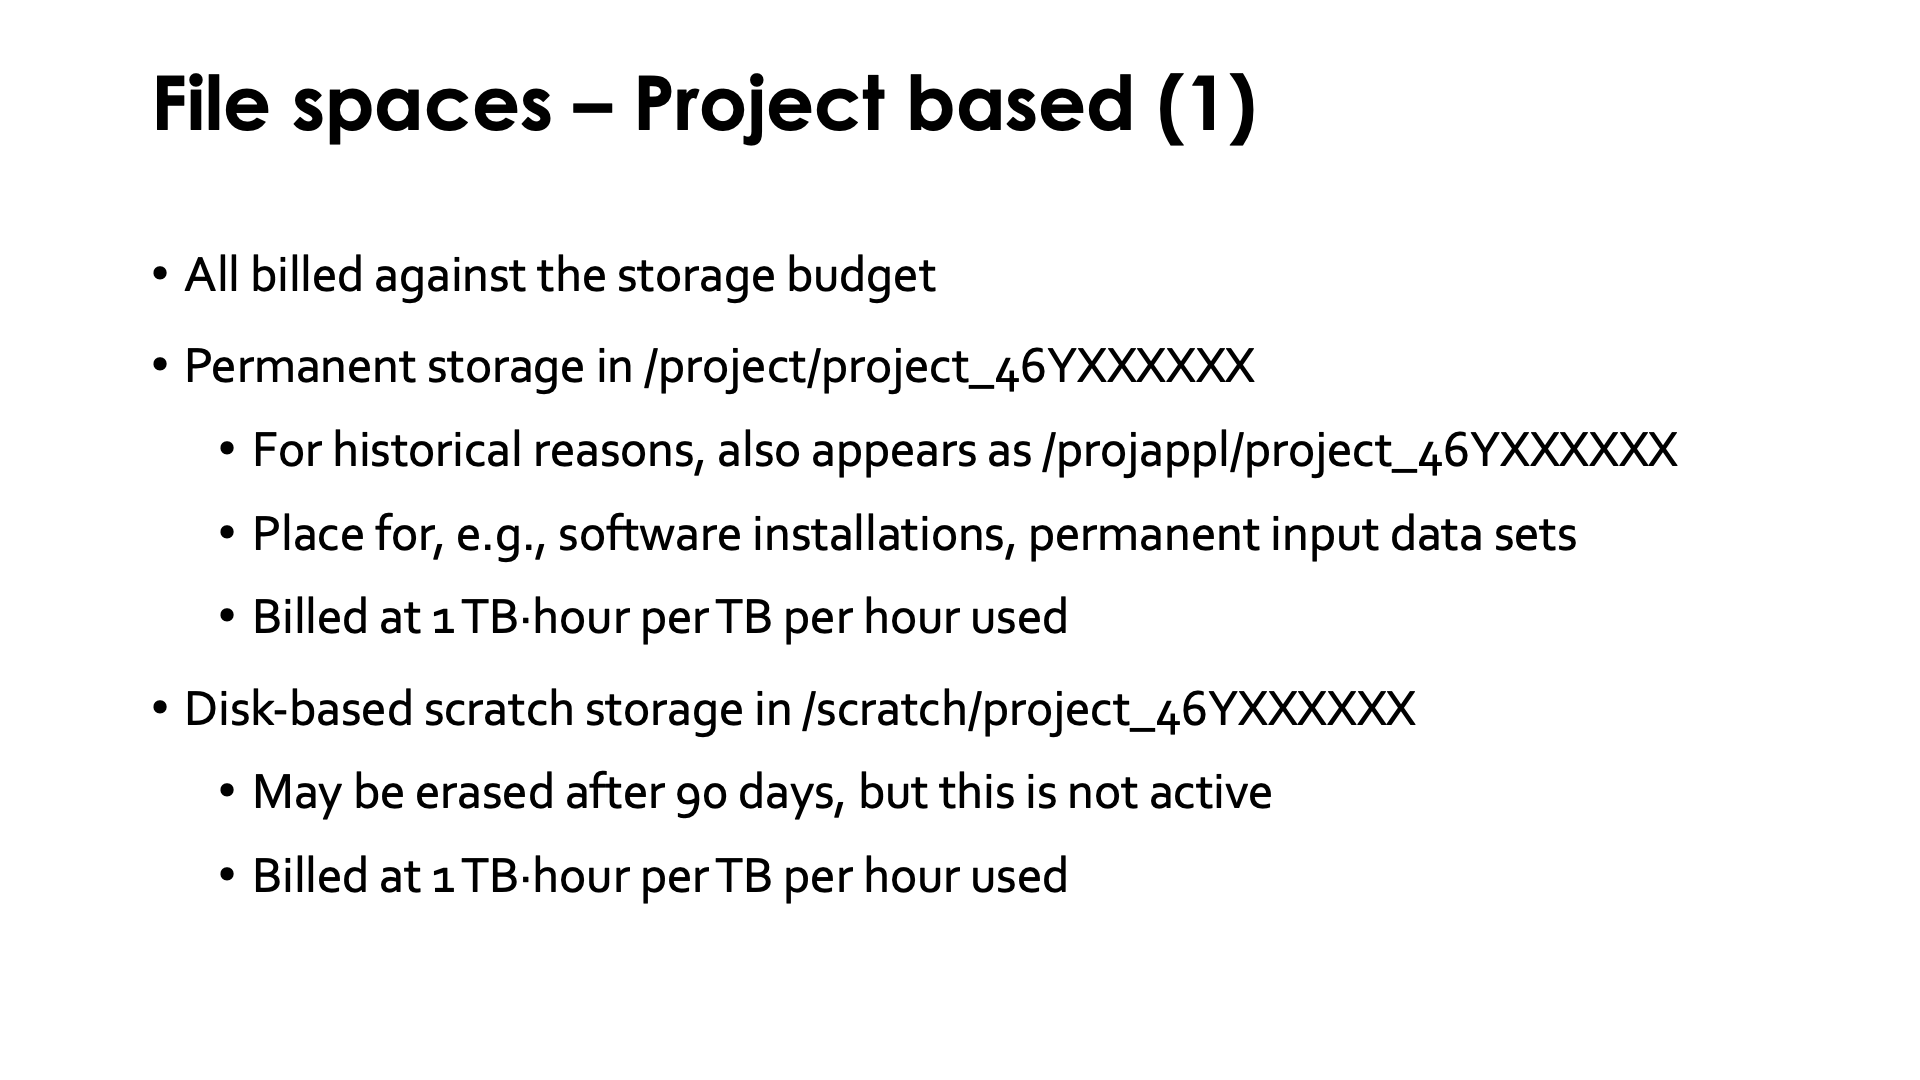
Each project also has 4 permanent or semi-permanent file spaces that are all billed against the storage budget of the project.
-
Permanent (for the duration of the project) storage on a hard disk based Lustre filesystem accessed via
/project/project_46YXXXXXX. This is the place to perform the software installation for the project (as it is assumed that a project is a coherent amount of work it is only natural to assume that everybody in the project needs the same software), or to store input data etc. that will be needed for the duration of the project.In some cases (like in the Open OnDemand "Home Directory" app, see later in this session), you will see the name
/projappl/project_46YXXXXXXinstead. This is for historical reasons. The directory was first called/projappl, but that gave too much the impression that it should only be used for applications, and it was later changed into/projectwhich is more common on other systems. To avoid having to rework too many management scripts, both now exist next to one another on LUMI, but it is the same file space.Storing one TB for one hour on the disk based Lustre file systems costs 1 TB-hour. As would storing 10 GB for 100 hours.
-
Semi-permanent scratch storage on a hard disk based Lustre filesystem accessed via
/scratch/project_46YXXXXXX. Files in this storage space can in principle be erased automatically after 90 days. This is not happening yet on LUMI, but will be activated if the storage space starts to fill up.Storing one TB for one hour on the disk based Lustre file systems costs 1 TB-hour.
-
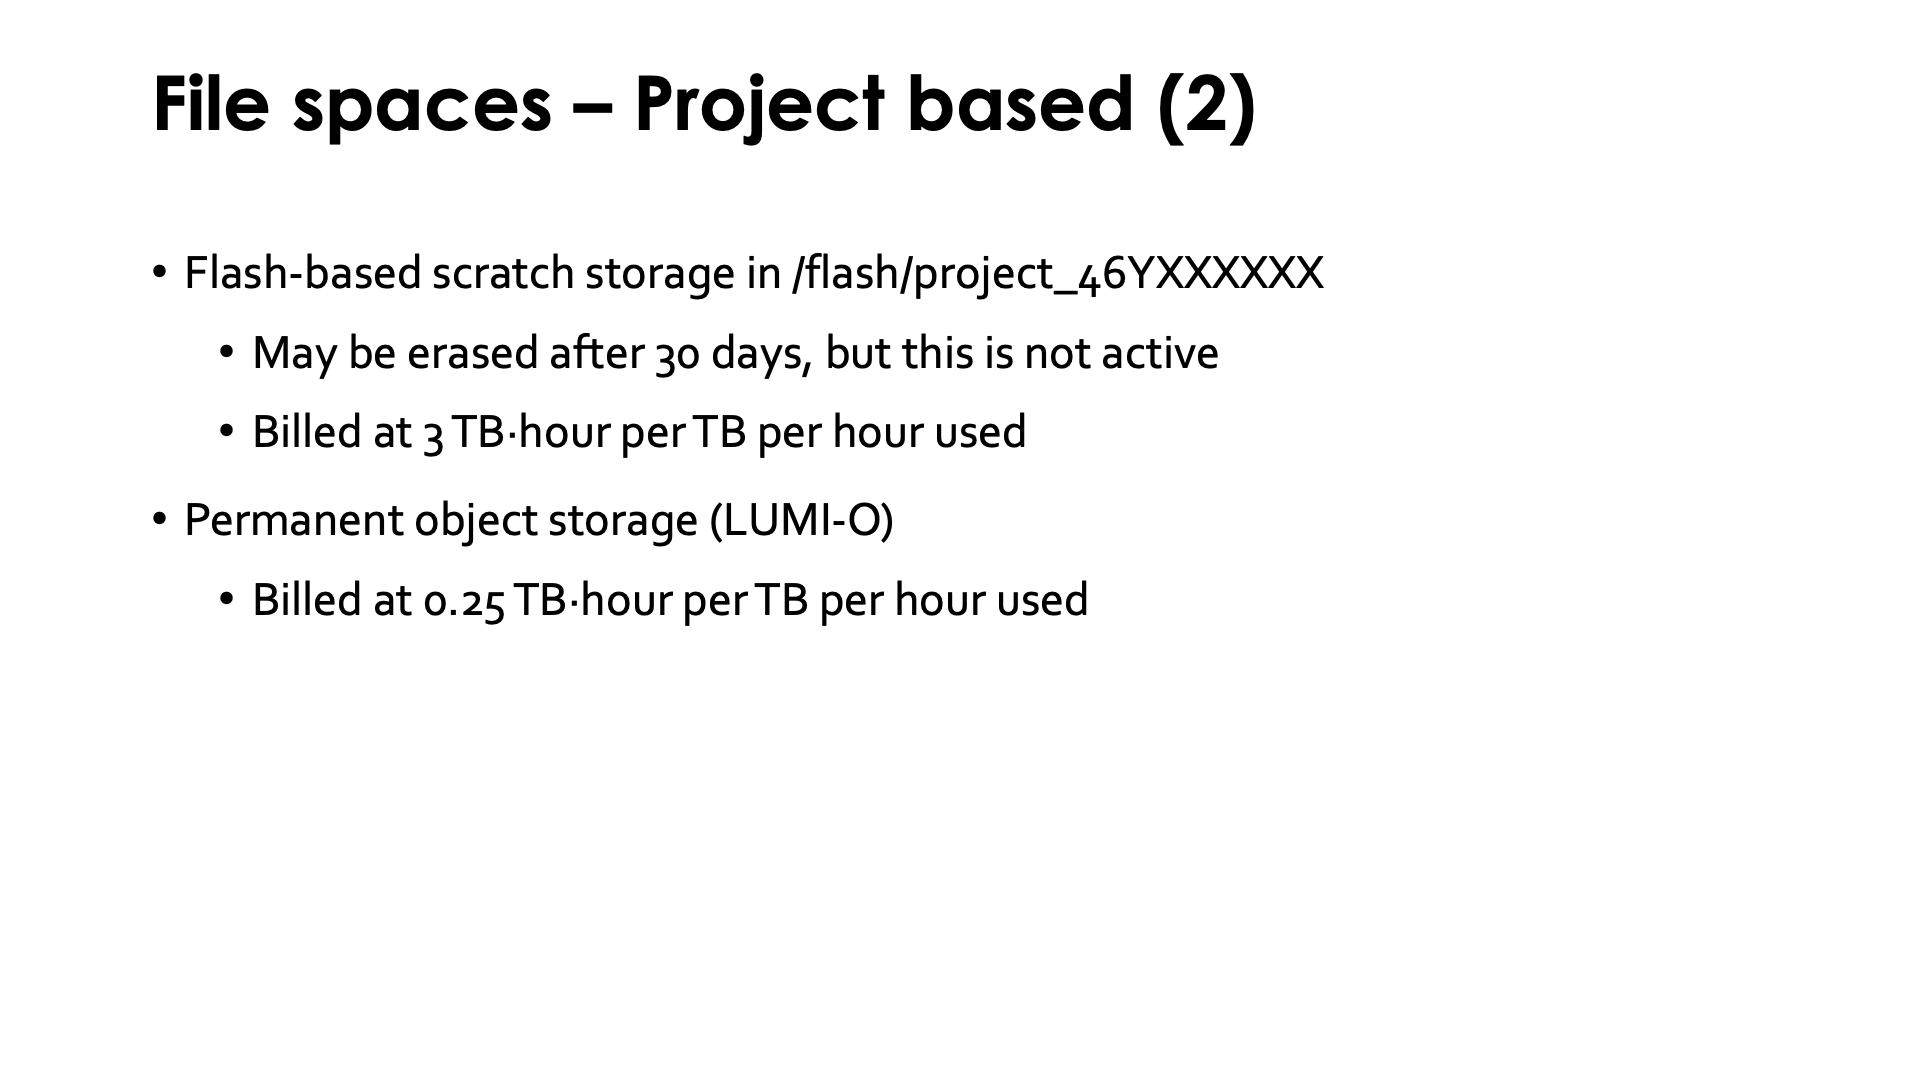
Semi-permanent scratch storage on an SSD based Lustre filesystem accessed via
/flash/project_46YXXXXXX. Files in this storage space can in principle be erased automatically after 30 days. This is not happening yet on LUMI, but will be activated if the scratch storage space starts to fill up.Storing one TB for one hour on the flash based Lustre file system costs 3 TB-hour. Before 2025 this was even 10 TB-hour to reflect the cost difference for this type of storage, but the rate has been reduced a bit to make the flash storage more attractive.
-
Permanent (for the duration of the project) storage on the hard disk based object filesystem.
Storing one TB for one hour on the object based file system costs 0.25 TB-hour. Before 2025 this was 0.5 TB-hour as that reflected the cost difference with Lustre hard-disk based software, but the billing rate has been reduced to encourage better use of this storage type.
Quota

The slide above also shows the quota on each volume. This information is also available in the LUMI docs.
The use of space in each file space is limited by block and file quota. Block quota limit the
capacity you can use, while file quota limit the number of so-called inodes you can use. Each file,
each subdirectory and each link use an inode.
As we shall see later in this course (in the section on Lustre)
or as you may have seen in other HPC courses already
(e.g., the VSC Supercomputers for Starters
course organised by UAntwerpen),
most parallel file systems are not built to deal with hundreds of thousands of small files and are
very inefficient at that.
This is certainly true for Lustre, the system that we have on LUMI.
Therefore block quota on LUMI tend to be rather flexible (except for
the home directory) but file quota are rather strict and will not easily get extended.
Software installations that require tens of thousands of small files should be done in
containers (e.g., conda installations or any big Python installation) while data should also
be organised in proper file formats rather than being dumped on the file system abusing the file
system as a database.
In the above slide, the "Capacity" column shows the block quota and the "Files" column show the total number of so-called inodes available in the file space.
The project file spaces can be expanded in capacity within the limits specified. However, due to the many small files problem on Lustre, the files quota (or more accurately inode quota) are rather strict and not easily raised (and if raised, not by an order of magnitude).
So storage use on LUMI is limited in two independent ways:
-
Traditional Linux block and file quota limit the maximum capacity you can use (in volume and number of inodes, roughly the number of files and directories combined).
-
But actual storage use is also "billed" on a use-per-hour basis. The idea behind this is that a user may run a program that generates a lot of data, but after some post-processing much of the data can be deleted so that other users can use that capacity again, and to encourage that behaviour you are billed based not on peak use, but based on the combination of the volume that you use and the time you use it for.
Storage use is monitored hourly for the billing process. If you run out of storage billing units, you will not be able to run jobs anymore.
Storage in your home directory is not billed but that should not mean that you should abuse your home directory for other purposes then a home directory is meant to be used, and an extension of the home directory will never be granted. If you run out of space for, e.g., caches, you should relocate them to, e.g., your scratch space, which can sometimes be done by setting an environment variable and in other cases by just using symbolic links to preserve the structure of the caching subdirectories in your home directory while storing data elsewhere.
Quota extensions are currently handled by the central LUMI User Support Team. But storage billing units, just as any billing unit, comes from your resource allocator (so LUMI-BE for projects assigned through the Belgian channel and EuroHPC themselves for their projects), and the LUMI User Support Team cannot give you any storage billing units.
Some additional information
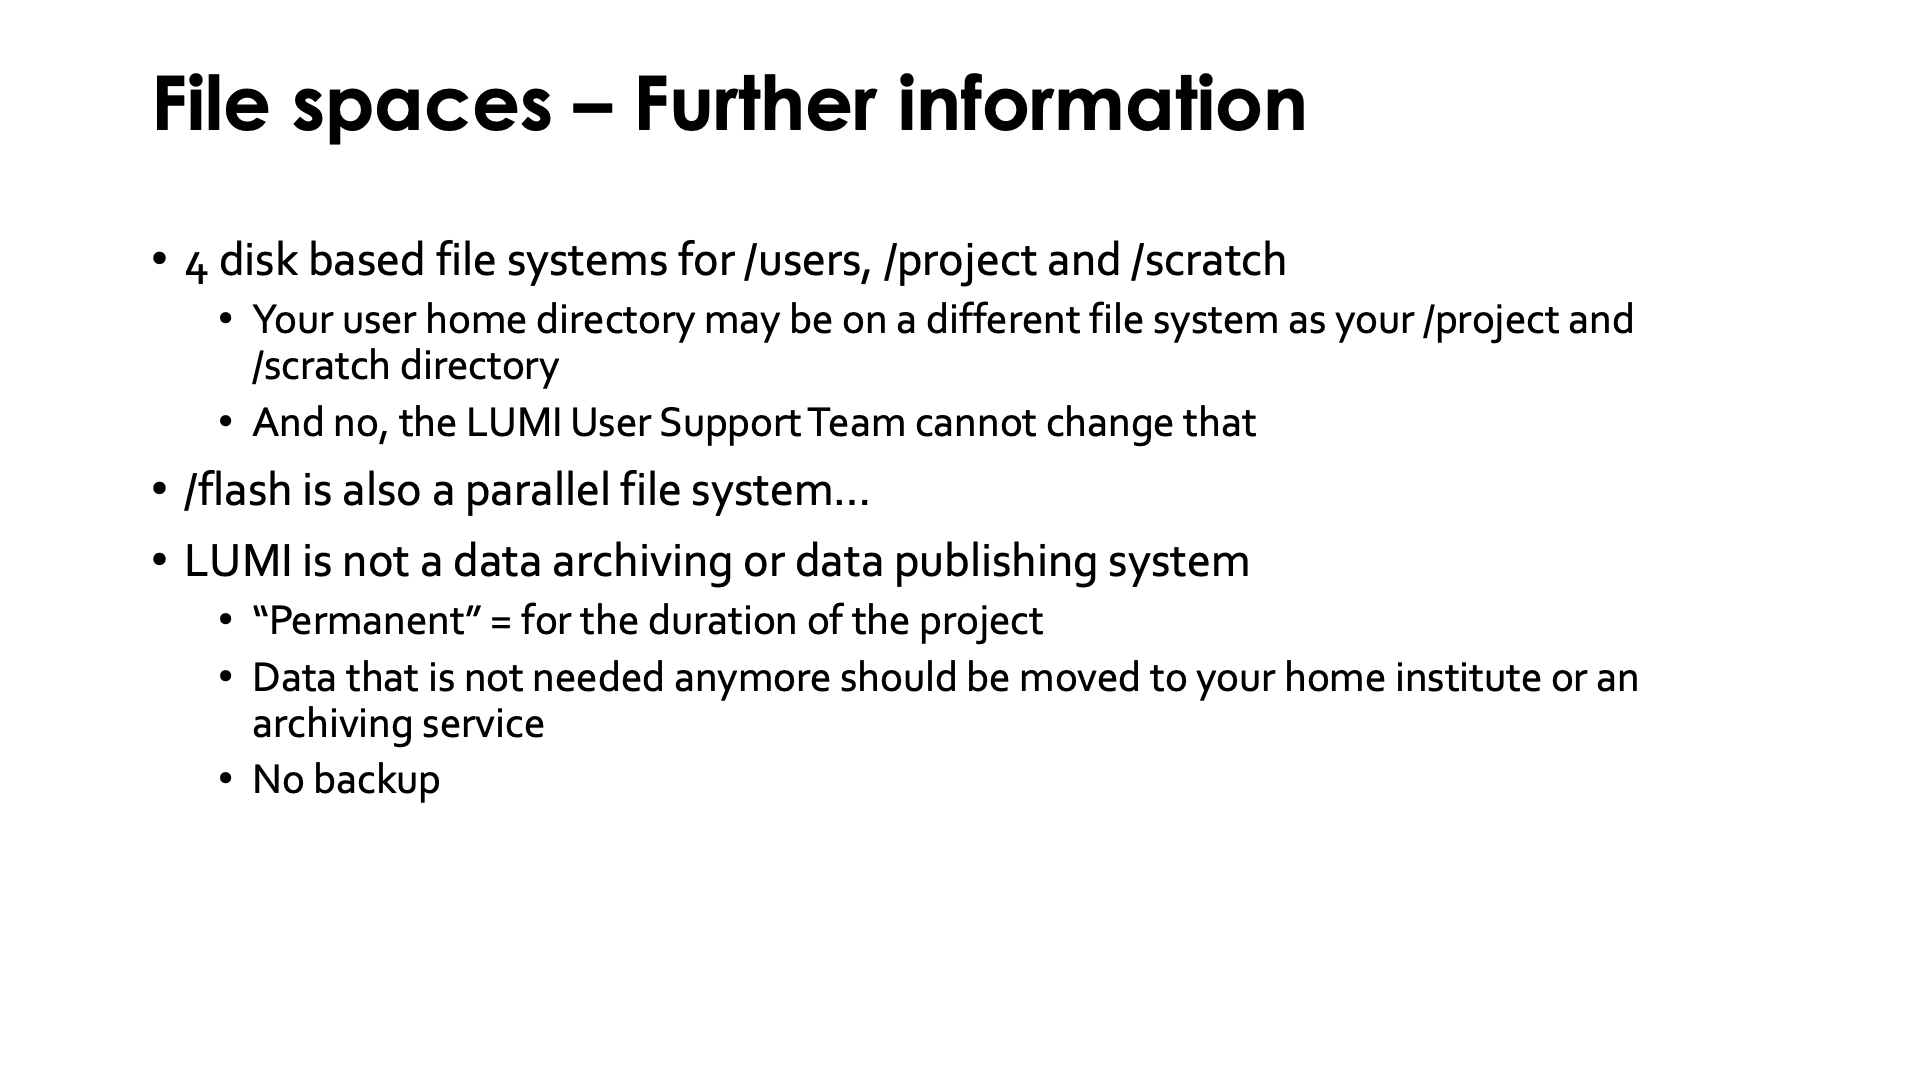
LUMI has four disk based Lustre file systems that house /users, /project and /scratch.
The /project and /scratch directories of your project will always be on the same parallel
file system, but your home directory may be on a different one. Both are assigned automatically
during project and account creation and these assignments cannot be changed by the LUMI User Support Team.
As there is a many-to-many mapping between user accounts and projects it is not possible to
ensure that user accounts are on the same file system as their main project. In fact, many users
enter LUMI for the first time through a course project and not through one of their main compute
projects...
It is important to note that even though /flash is SSD based storage, it is still a parallel file
system and will not behave the way an SSD in your PC does. The cost of opening and closing a file
is still very high due to it being both a networked and a parallel file system rather than a
local drive. In fact, the cost for metadata operations is not always that much lower as on the hard disk based
parallel file systems as both use SSDs to store the metadata (but some metadata operations
on Lustre involve both the metadata and object servers and the latter are faster on /flash).
Once a file is opened and with
a proper data access pattern (big accesses, properly striped files which we will discuss later
in this course) the flash file system can give a lot more bandwidth than the disk based ones.
It is important to note that LUMI is not a data archiving service or a data publishing service. "Permanent" in the above discussion only means "for the duration of the project". There is no backup, not even of the home directory. And 90 days after the end of the project all data from the project is irrevocably deleted from the system. User accounts without project will also be closed, as will user accounts that remain inactive for several months, even if an active project is still attached to them. The funding of the LUMI project is temporary and the organisation that funds LUMI is also not funded by an organisation that funds data archiving in Europe, so LUMI cannot offer such services. Moreover, economical long-term storage requires different solutions that focus on cost, resilience and findability of data and not a high-performance parallel filesystem.
If you run out of storage billing units, access to the job queues or even to the storage can be blocked and you should contact your resource allocator for extra billing units. Our experience within Belgium is that projects tend to heavily under-request storage billing units. It is important that you clean up after a run as LUMI is not meant for long-term data archiving. But at the same time it is completely normal that you cannot do so right after a run, or as a job may not launch immediately, that you need to put input data on the system long before a run starts. So data needed for or resulting from a run has to stay on the system for a few days or weeks, and you need to budget for that in your project request.
Web links:
- Overview of storage systems on LUMI
- Billing policies (includes those for storage)
- Various universities in Belgium are now working on Research Data Management (RDM) services to
enable longer-term storage of research data and also make that data findable. See, e.g.,
the following pages and if you know of other such pages, please contact the LUMI-BE
helpdesk at lumi-be-support@enccb.be so that we can add them to this page:
- UAntwerpen RDM page
- VUB RDM page
- ULB doesn't seem to have a page bundling all information, but they do have an RDM support service and an institutional policy on RDM
- UGent RDM page
- UHasselt RDM page
- KU Leuven RDM page
- UC Louvain RDM page Not all of those already offer long-term storage facilities, but if they do, this is one likely page where those would be announced.
- Example for data archiving services: In the Netherlands, SURF provides the SURF Data Archive and SURF Data Repository services.
- The FENIX Research Infrastructure project also aims to build up, among others, services for data publishing and archival. It is based on cloud computing technology.
Access
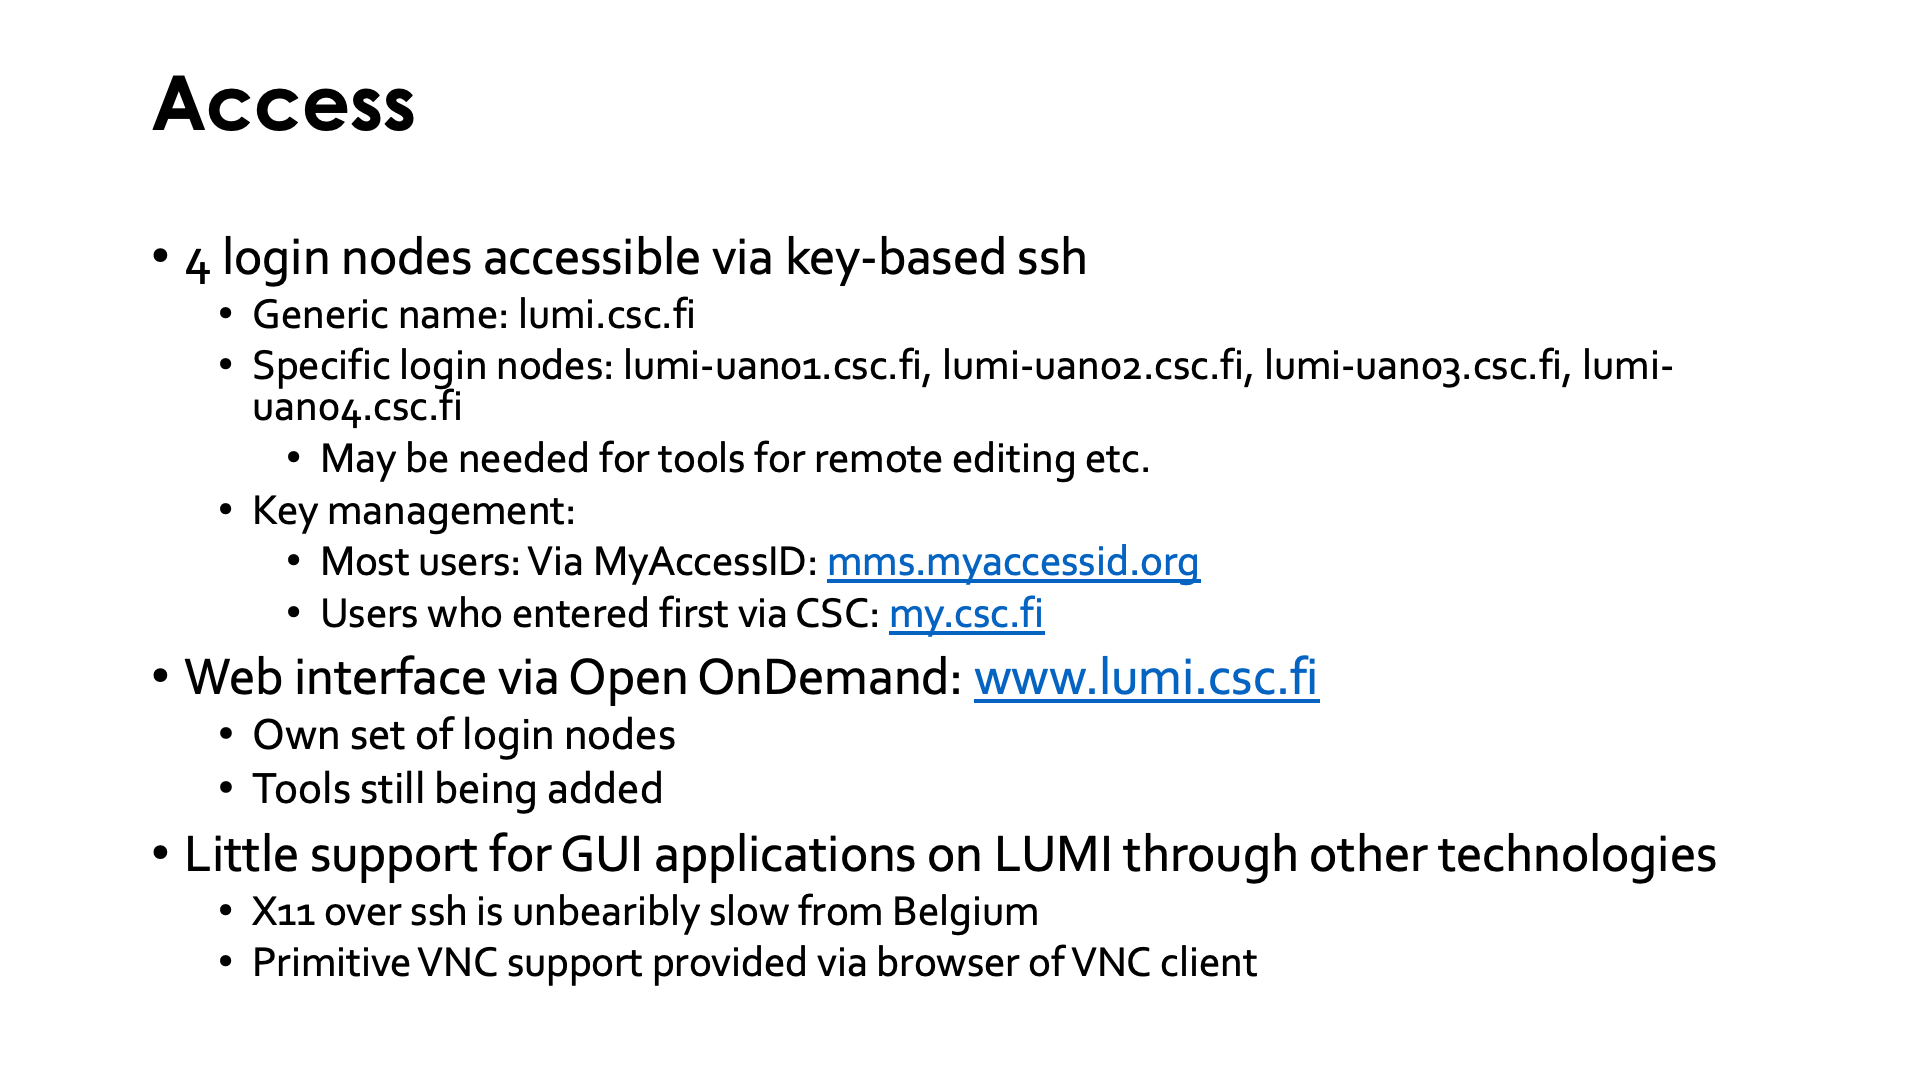
LUMI currently has 4 login nodes through which users can enter the system via key-based ssh.
The generic name of those login nodes is lumi.csc.fi. Using the generic names will put you
onto one of the available nodes more or less at random and will avoid contacting a login node
that is down for maintenance. However, in some cases one needs to enter a specific login node.
E.g., tools for remote editing or remote file synchronisation such as Visual Studio Code or Eclipse
usually don't like it if they get a different node every time they try to connect, e.g., because
they may start a remote server and try to create multiple connections to that server.
In that case you have to use a specific login node, which you can do through the names
lumi-uan01.csc.fi up to lumi-uan04.csc.fi.
(UAN is the abbreviation for User Access Node, the term Cray uses for login nodes.)
It is entirely normal that one of the login nodes is down and not functioning. It will then be
taken out of the lumi.csc.fi list. But don't send support tickets about it. Sometimes a node may even
be unavailable for several weeks as it may be in use by the sysadmins for other purposes. If you're
connecting to a specific login node and it doesn't work anymore, simply try a different one.
Note that some programs may not even show you a clear error message if you connect to a node
that is down. We've seen issues with, e.g., FileZilla.
Key management is for most users done via MyAccessID: mms.myaccessid.org. This is the case for all user accounts who got their first project on LUMI via Puhuri, which is the case for almost all Belgian users. User accounts that were created via the My CSC service have to use the my.csc.fi portal to manage their keys. It recently became possible to link your account in My CSC to MyAccessID so that you do not get a second account on LUMI ones you join a Puhuri-managed project, and in this case your keys are still managed through the My CSC service. But this procedure is only important for those LUMI-BE users who may have gotten their first access to LUMI via a project managed by CSC.
LUMI also provides a web interface via Open OnDemand. The URL is
https://www.lumi.csc.fi/. It also offers a number
of tools that can be useful for visualisation via a web browser via the "Desktop" app,
which will give you a VNC session with the
rather lightweight Xfce desktop environment.
Note that the supercomputer is not your primary graphics workstation and is a shared resource,
so a more lightweight solution is chosen to be able to serve more users on the available hardware.
It makes no sense to request much richer environments such as Gnome or KDE; they are simply too
heavyweight and would require to dedicate too much of the budget to hardware for something that
is not the core task of a supercomputer.
There is currently not much support for other technologies for GUI applications on LUMI.
Running X11 over ssh (via ssh -X) is unbearably slow for users located in Belgium.
The X11 protocol is really made for local area network connections, not
for wide area network connections.
The alternative is some support for VNC outside Open OnDemand, though the window manager and fonts used by
that server do look a little dated. Access is possible via a browser or VNC client.
On the system, check for the
lumi-vnc module.
Web links:
- LUMI documentation on logging in to LUMI and creating suitable SSH keys
- CSC documentation on linking My CSC to MyAccessID
A walk through the Open OnDemand interface
To enter the LUMI OpenOndemand interface, point your browser to www.lumi.csc.fi. You will get the screen:
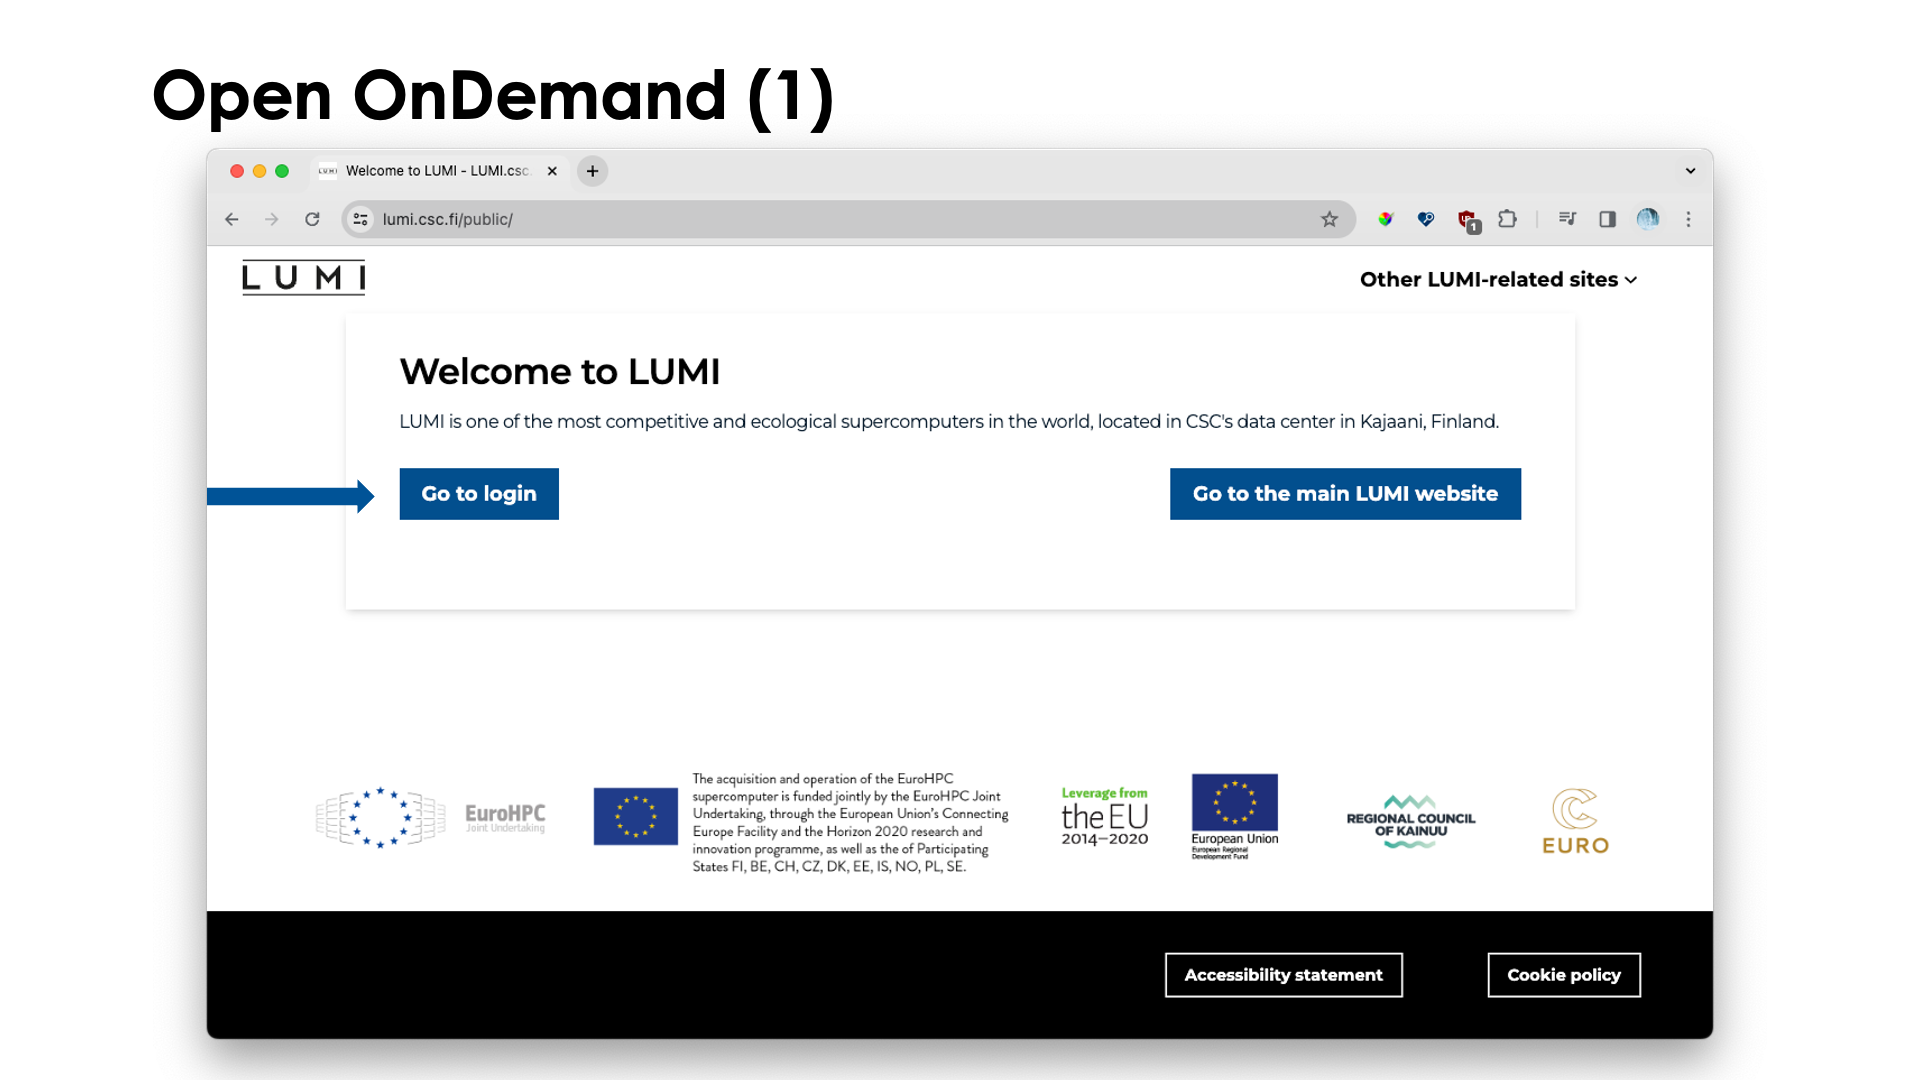
Most likely you just want to log on, so click on "Go to login" and the "Select authentication provider" screen should appear, with a link to give you more information about which authentication method to use:
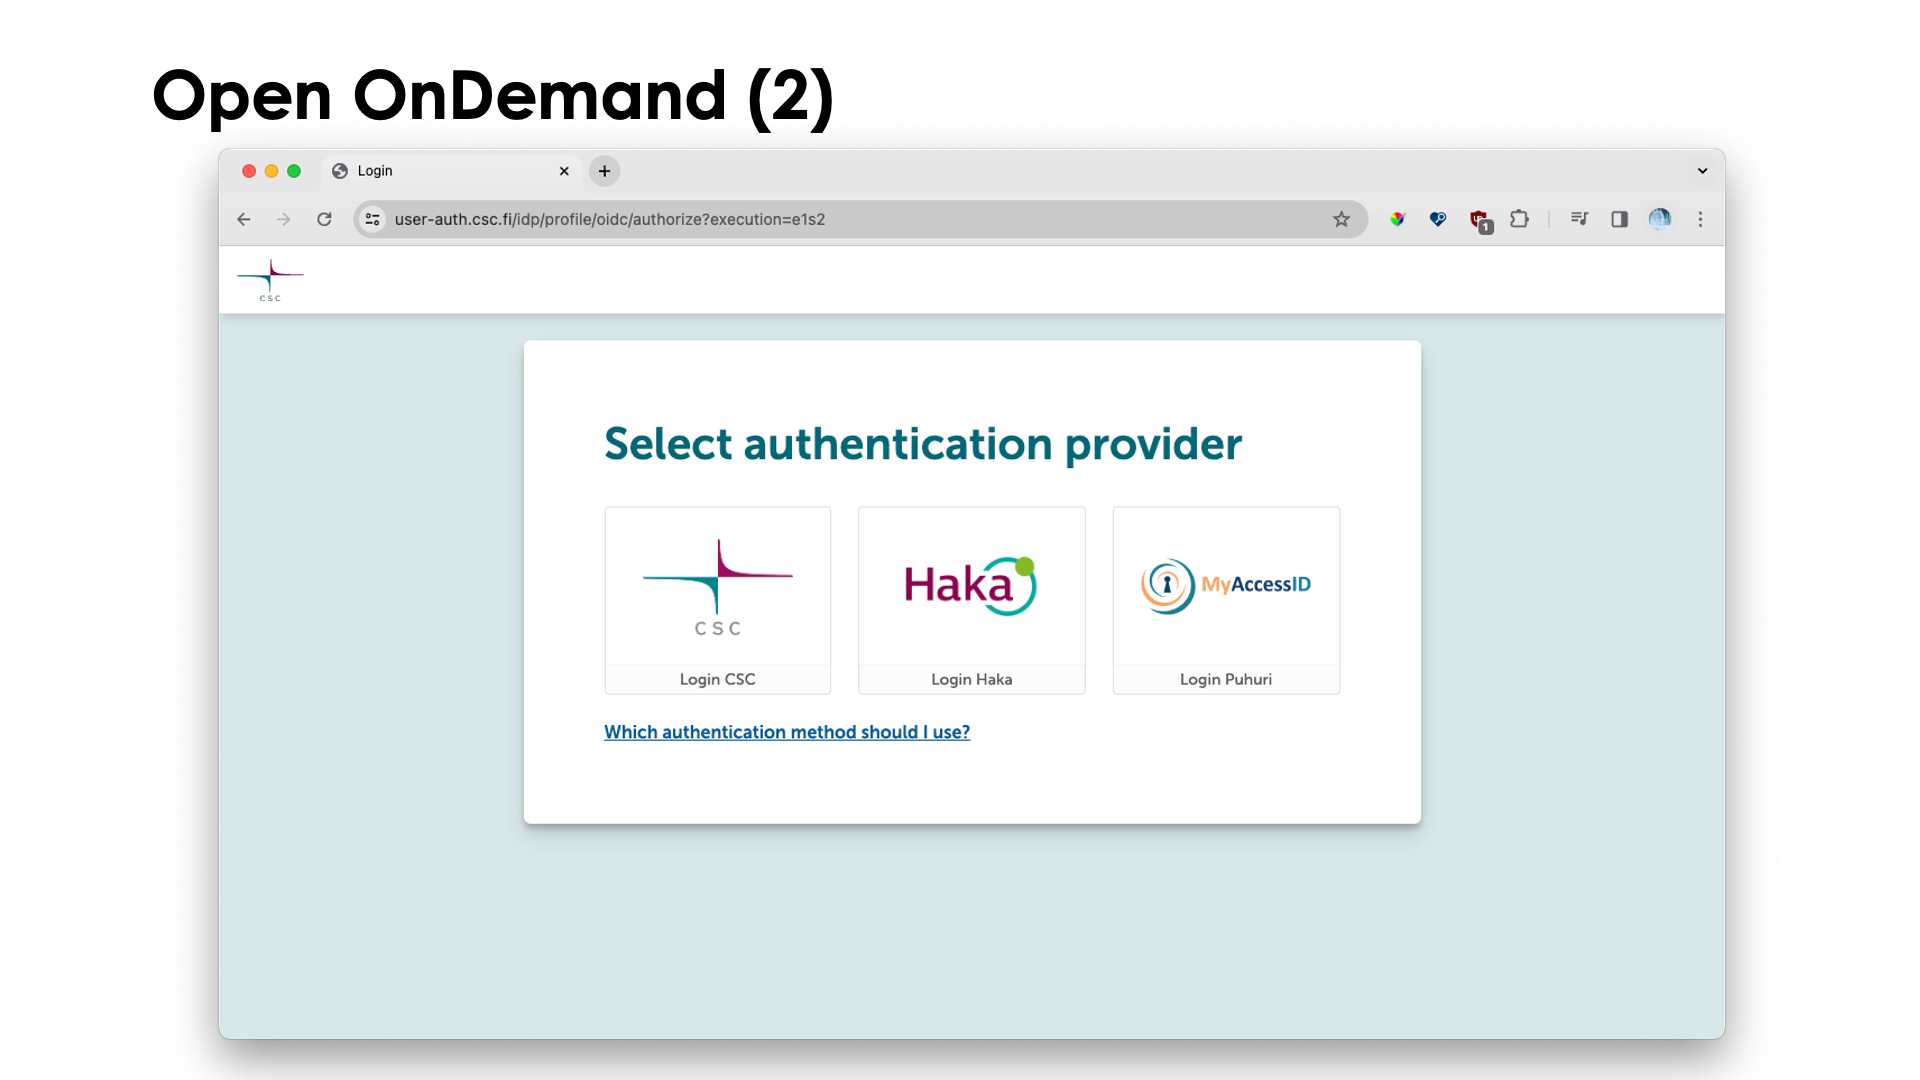
Belgian users typically need the "Puhuri" option, but users who came in via the myCSC platform need to use "Haka" or "CSC" depending on how they enter the myCSC platform.
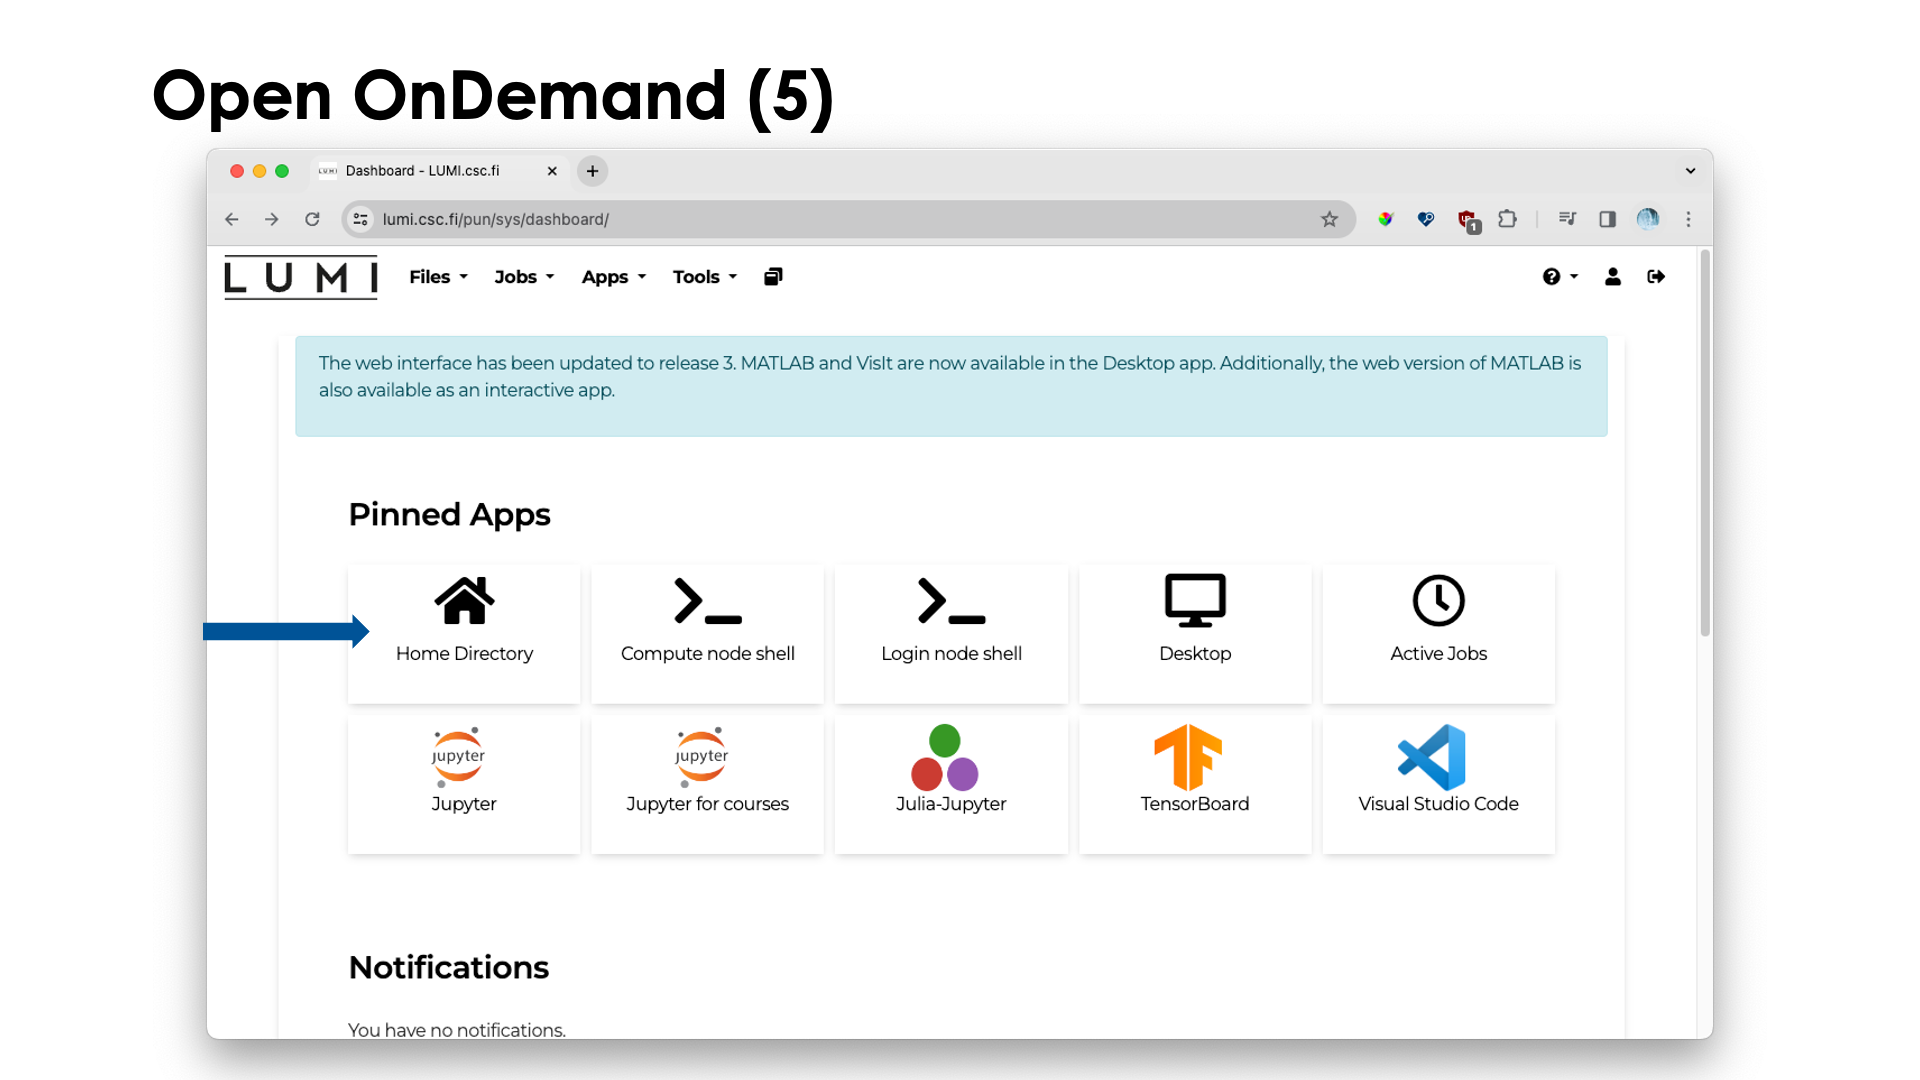
The whole login process is not shown, but after successful authentication, you end up at the main screen (that you can also go back to by clicking the LUMI-logo in the upper left corner):
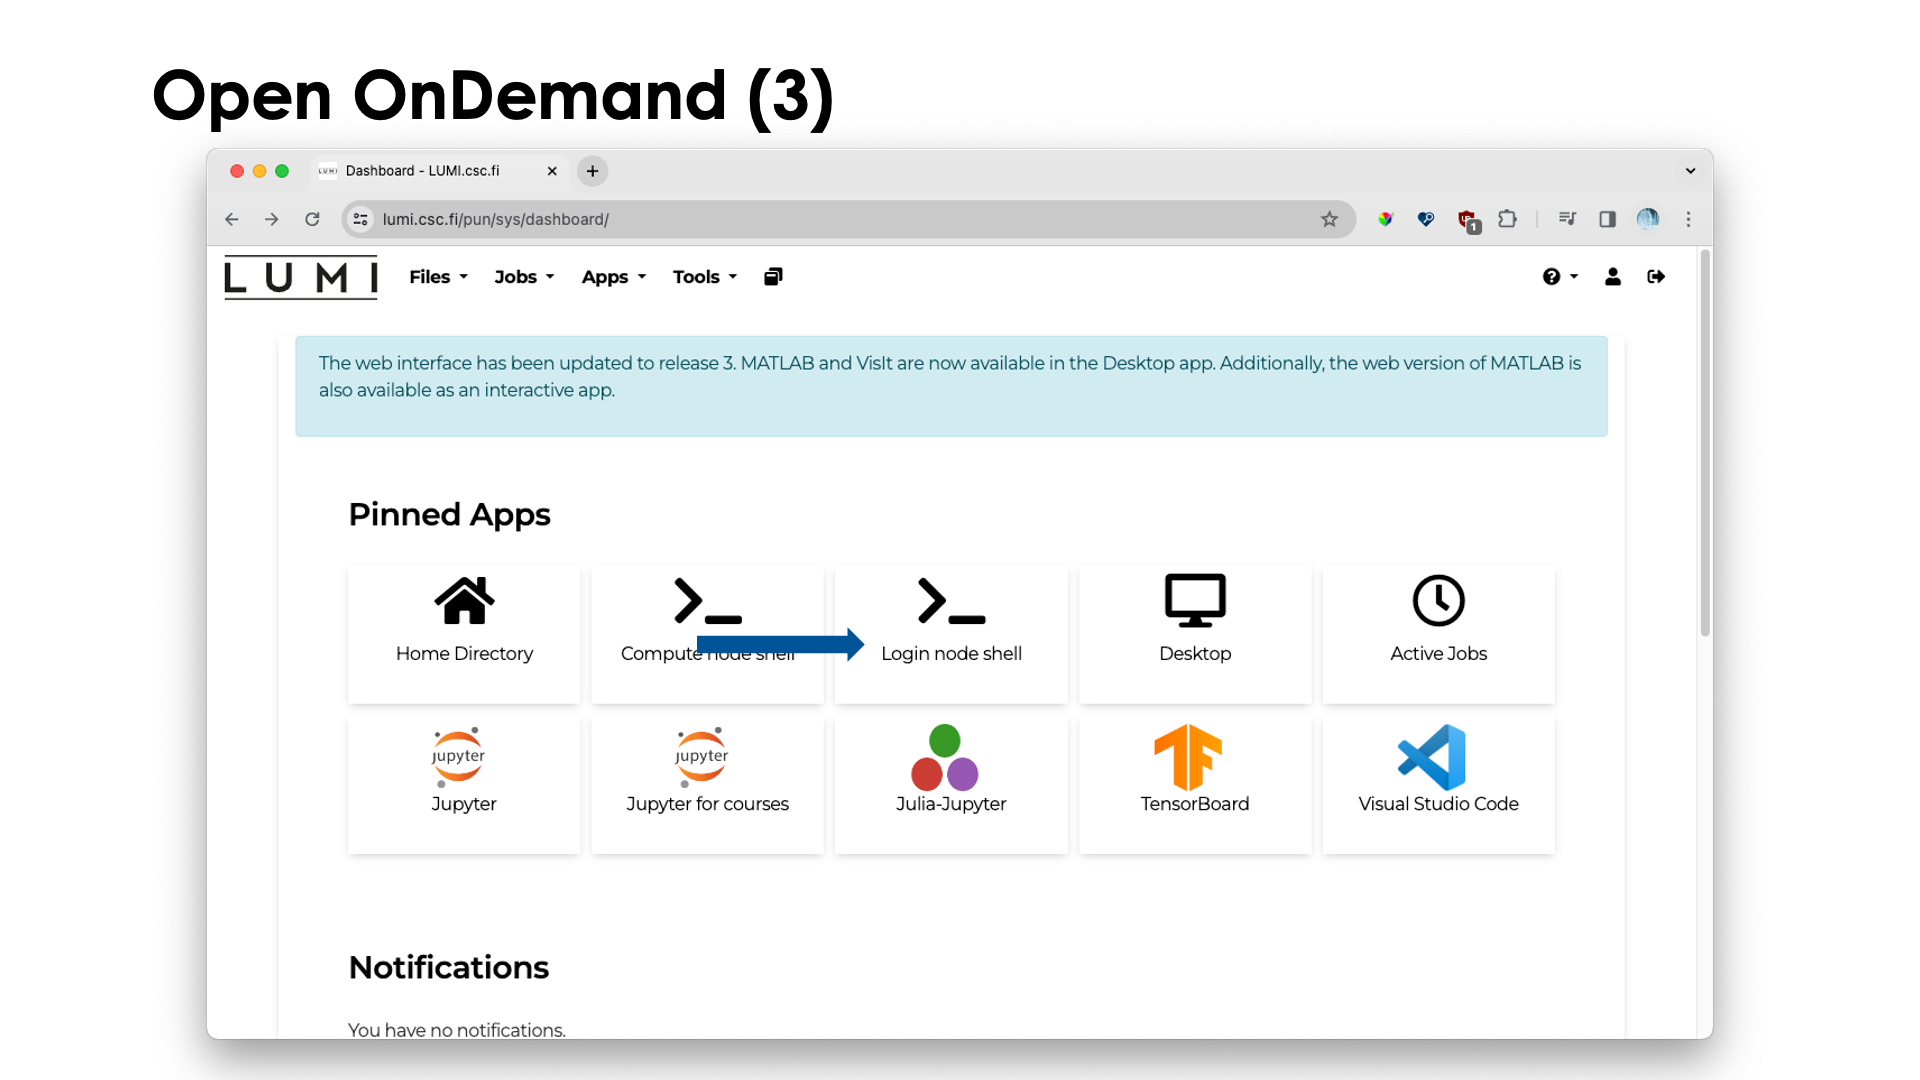
The list of pinned apps may change over time, and more apps are available via the menu at the top. Most apps will run in the context of a job, so you will need billing units, and those apps will also present you with a form to chose the resources you want to use, but that will only be discussed in the session on Slurm.
Two apps don't run in the context of a job: The "Login node shell" and "Home Directory" apps, and we'll first have a look at those.
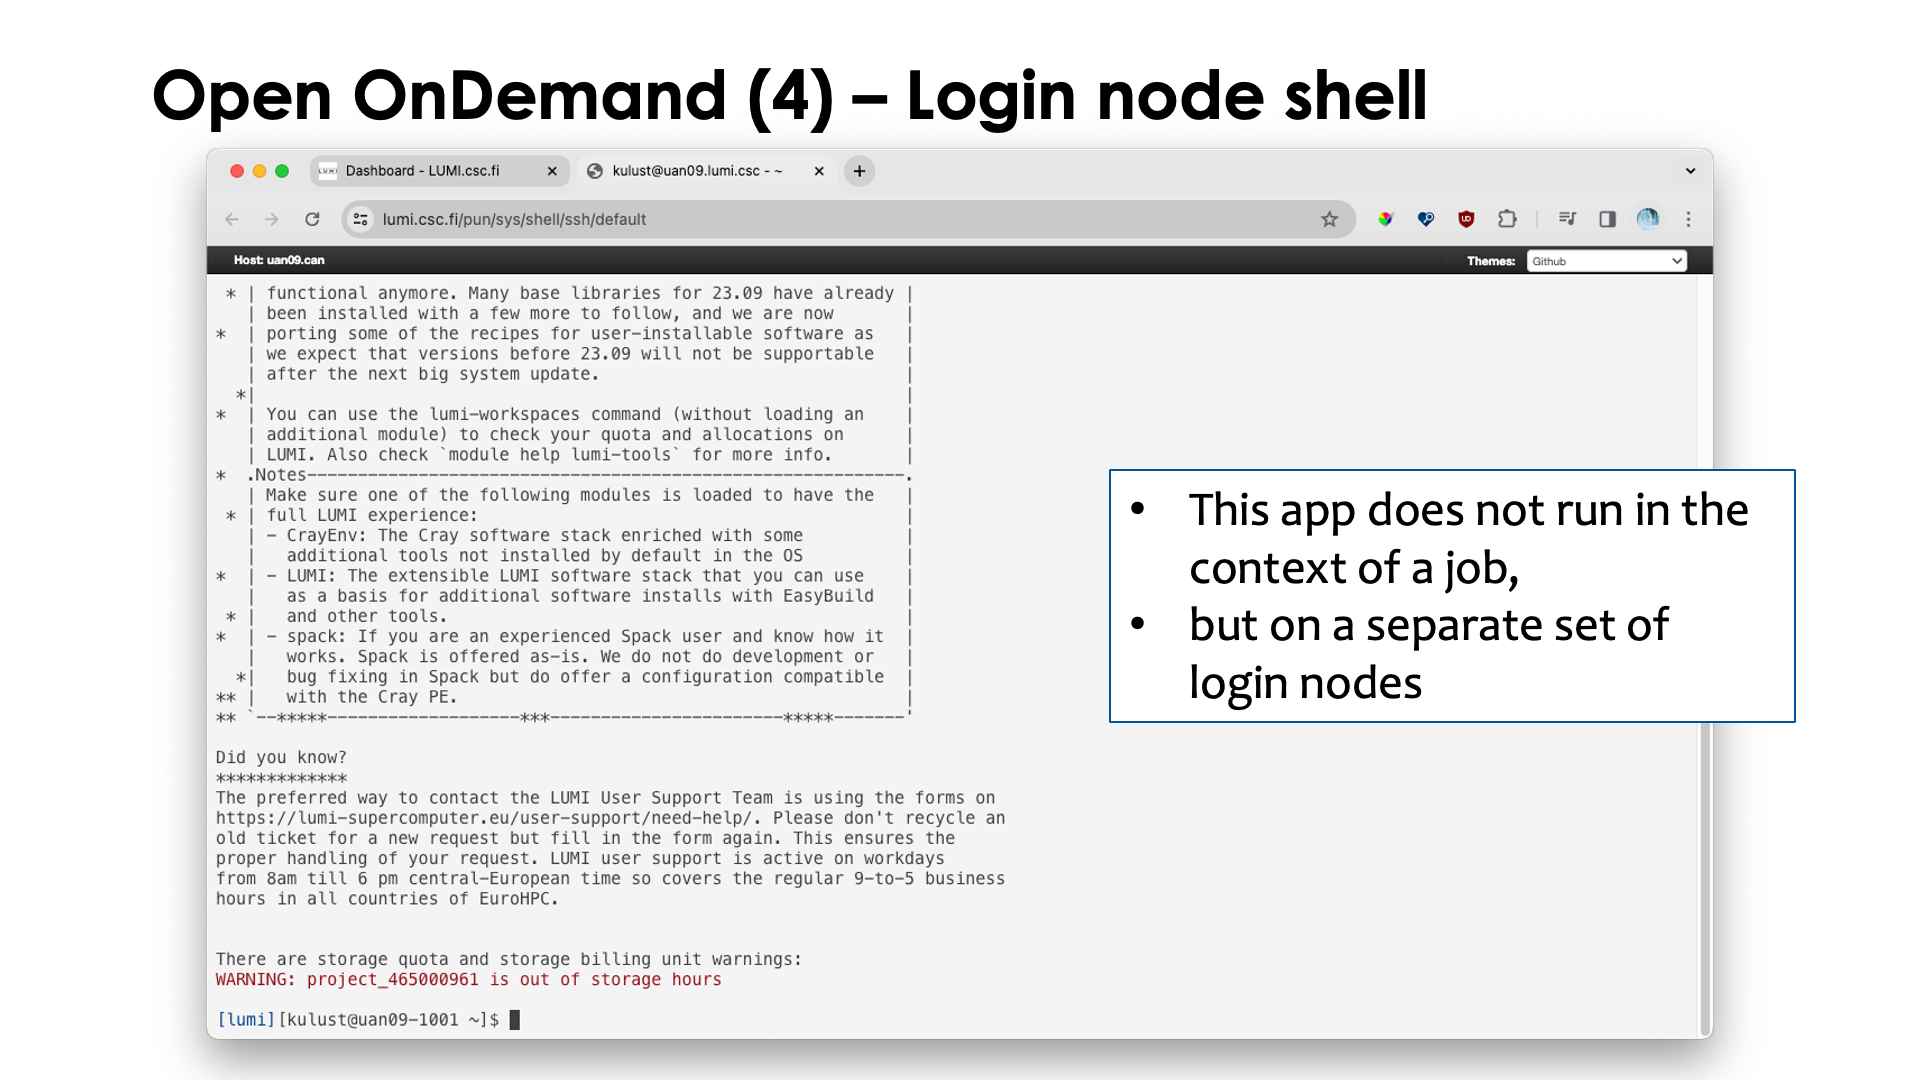
The "Login node shell" does just what you expect from it": It opens a tab in the browser with a shell on one of the login nodes. Open OnDemand uses its own login node (currently only one), as you can see from the name of the node, but these nodes are otherwise identical to the login nodes that you access via an ssh client on your laptop, and the same policies apply. They should not be used for running applications and only be used for small work or not too heavy compilations.
Let's now select the "Home Directory" app. We get:
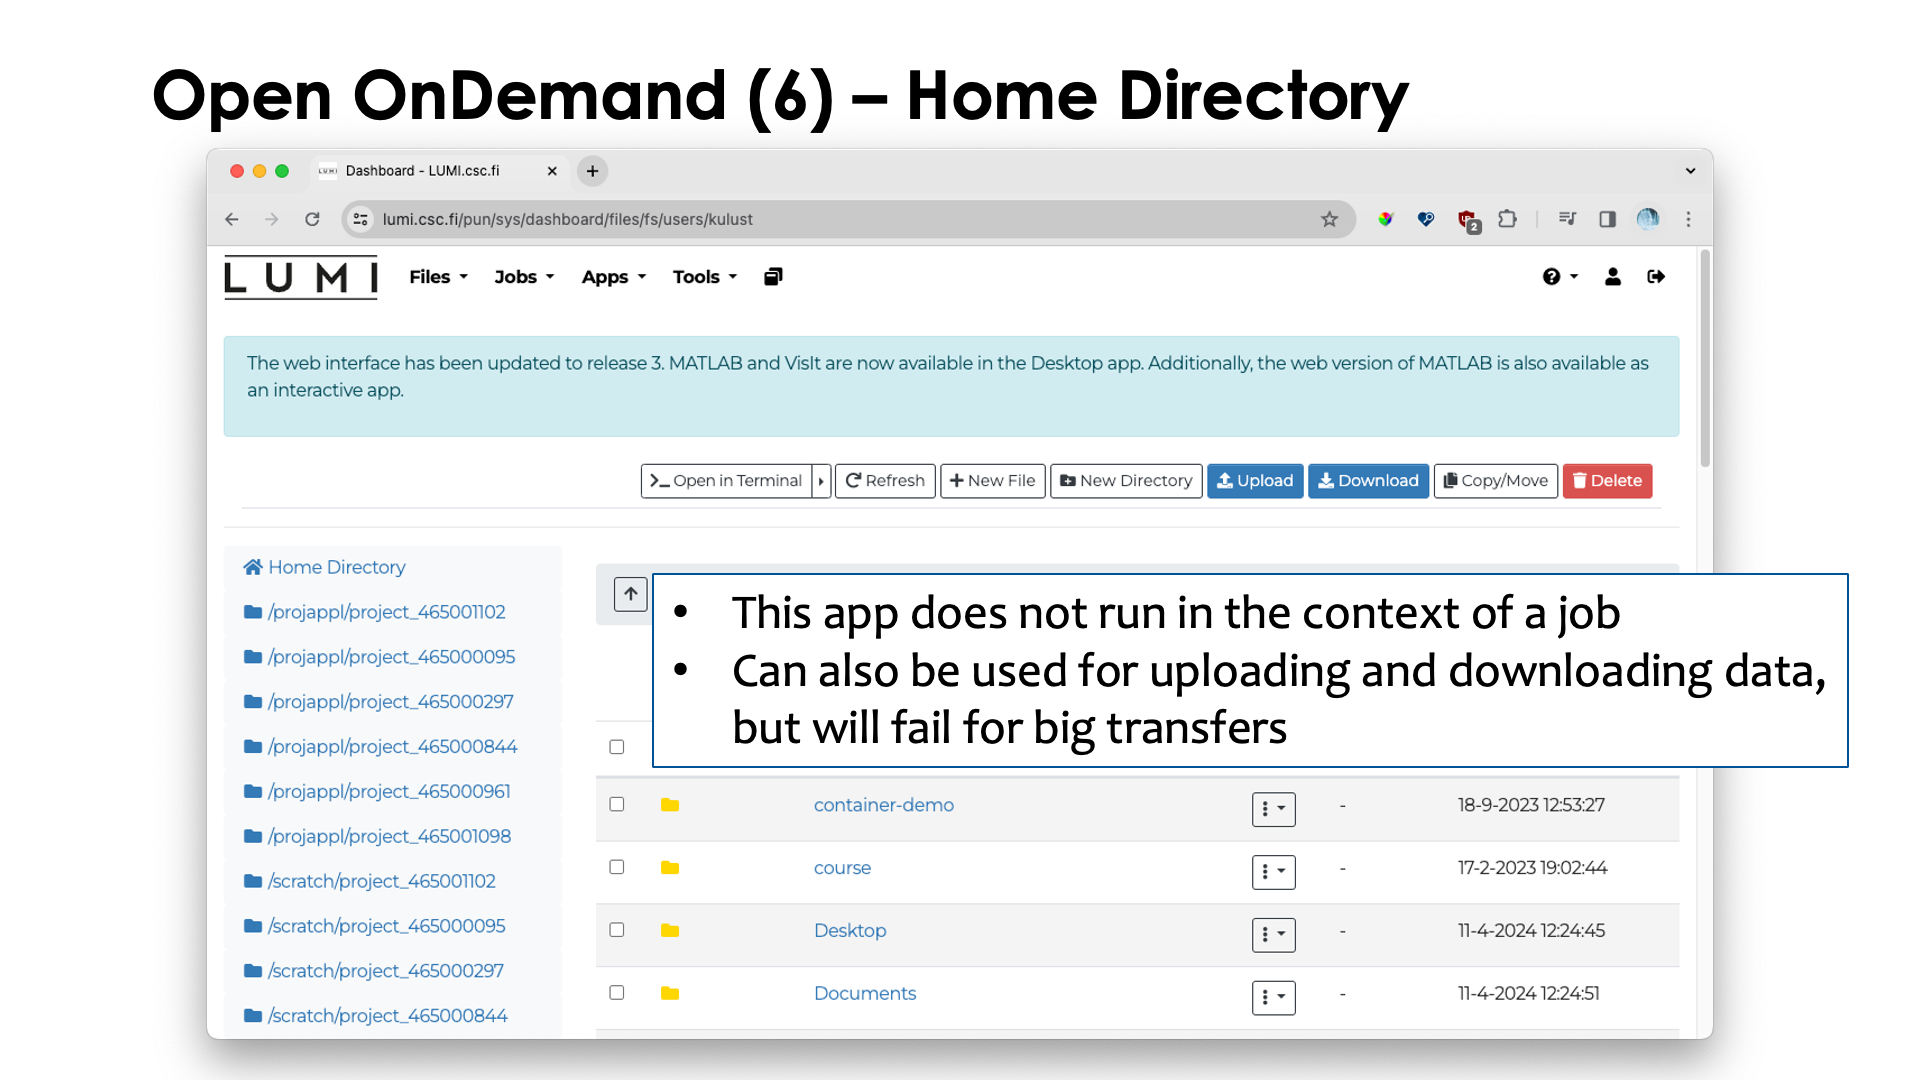
The "Home Directory" app presents you with an interface through which you cannot only browse your home directory, but also the project, scratch and flash directories of all your projects. It can be used for some elementary file access and also to upload and download files.
It is not suitable though to upload or download very big files, or download large subdirectories (multiple files will be packed in a ZIP archive) as browsers may not be reliable enough and as there are also restrictions on how big an archive Open OnDemand can create.
For transferring lots of data, transfer via LUMI-O is certainly the better option at the moment.
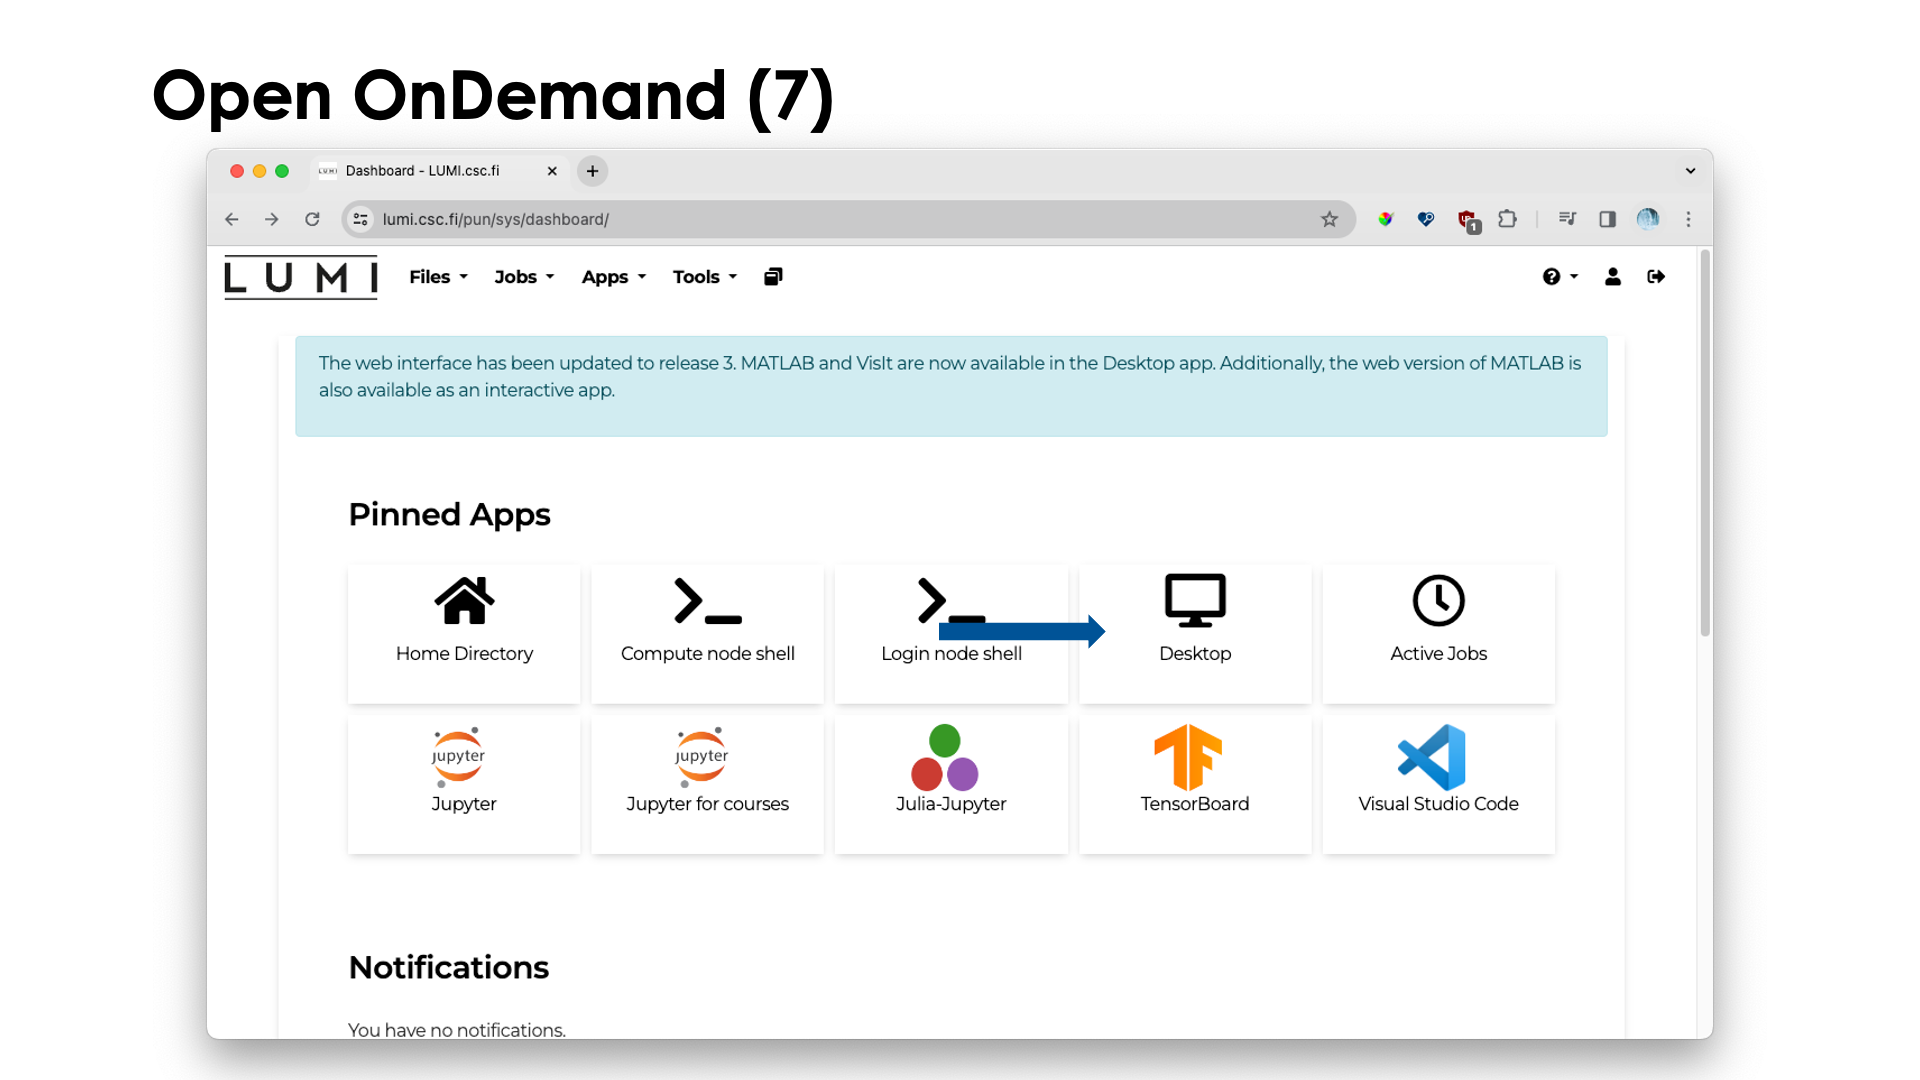
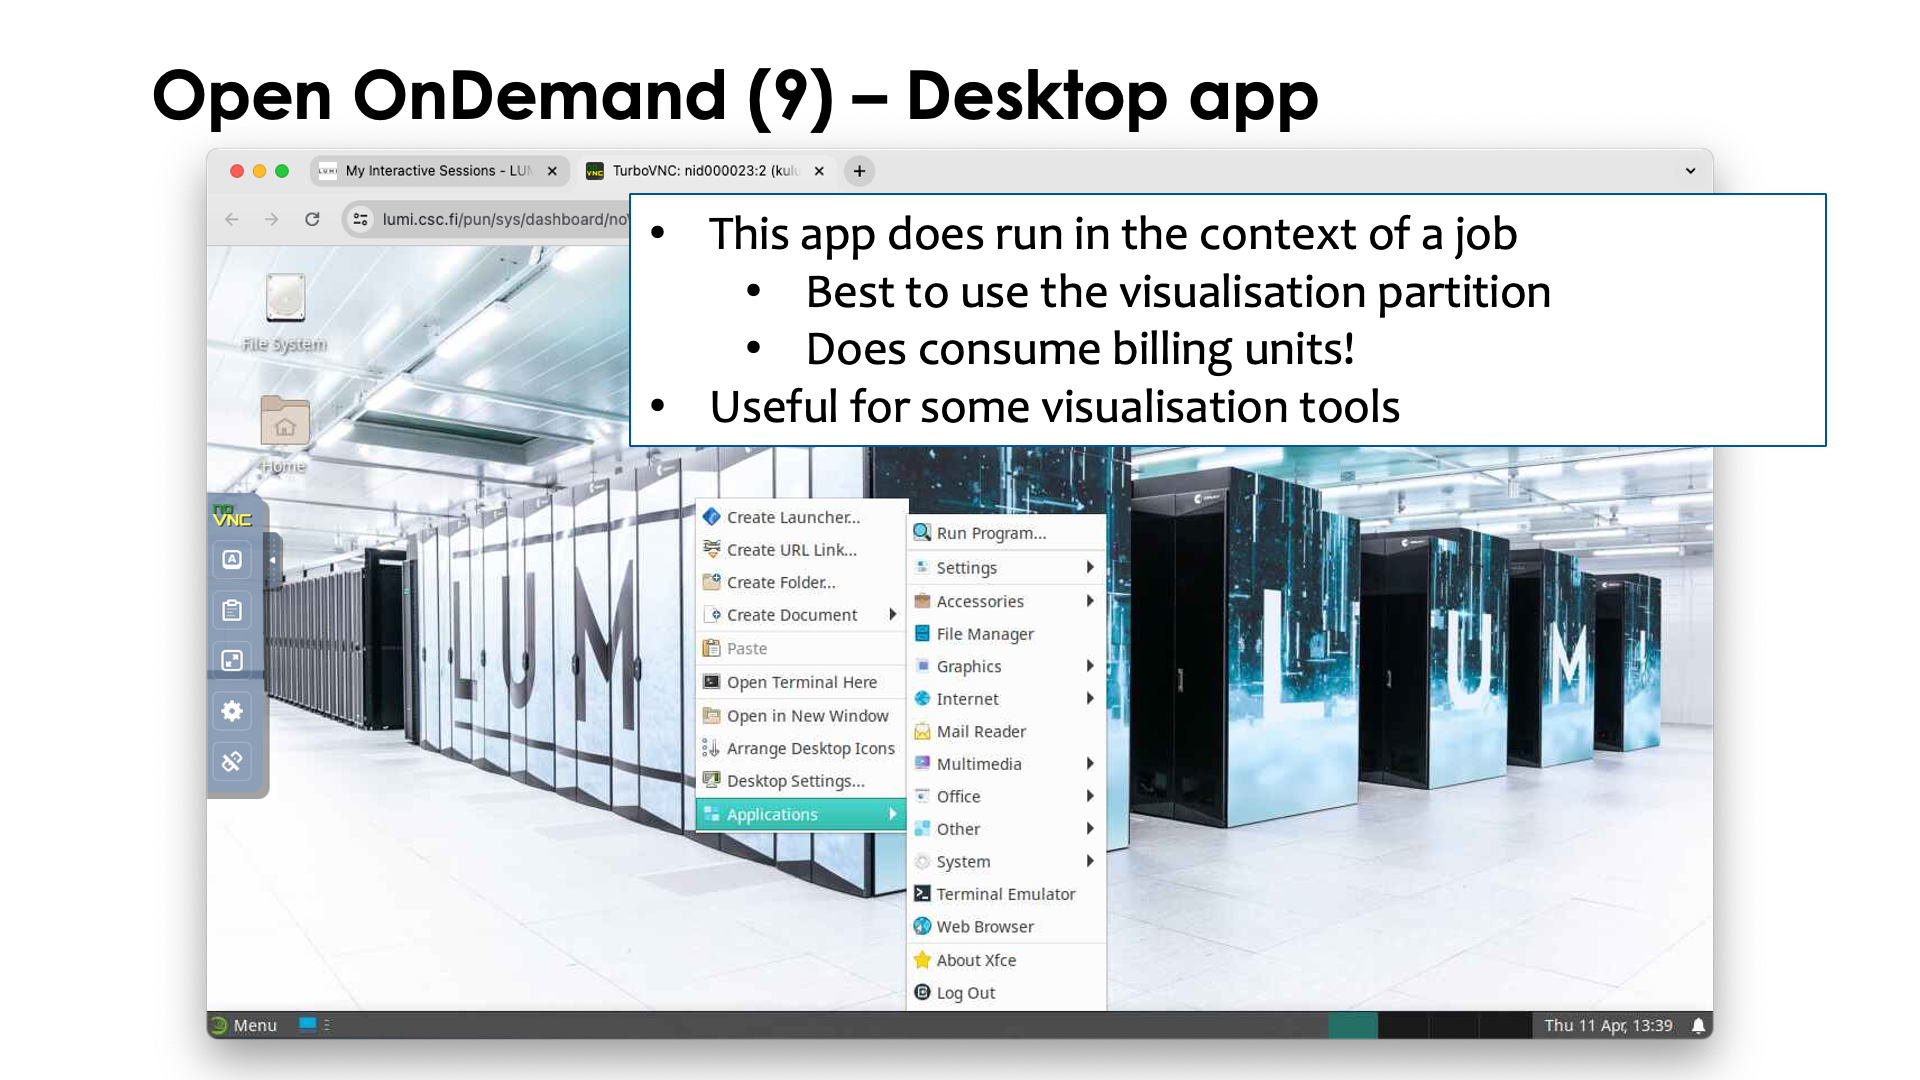
Finally, let's have a look at the "Desktop" app.
The "Desktop" app will present you with a simple GUI desktop based on the xfce desktop environment. After opening this app, one gets:
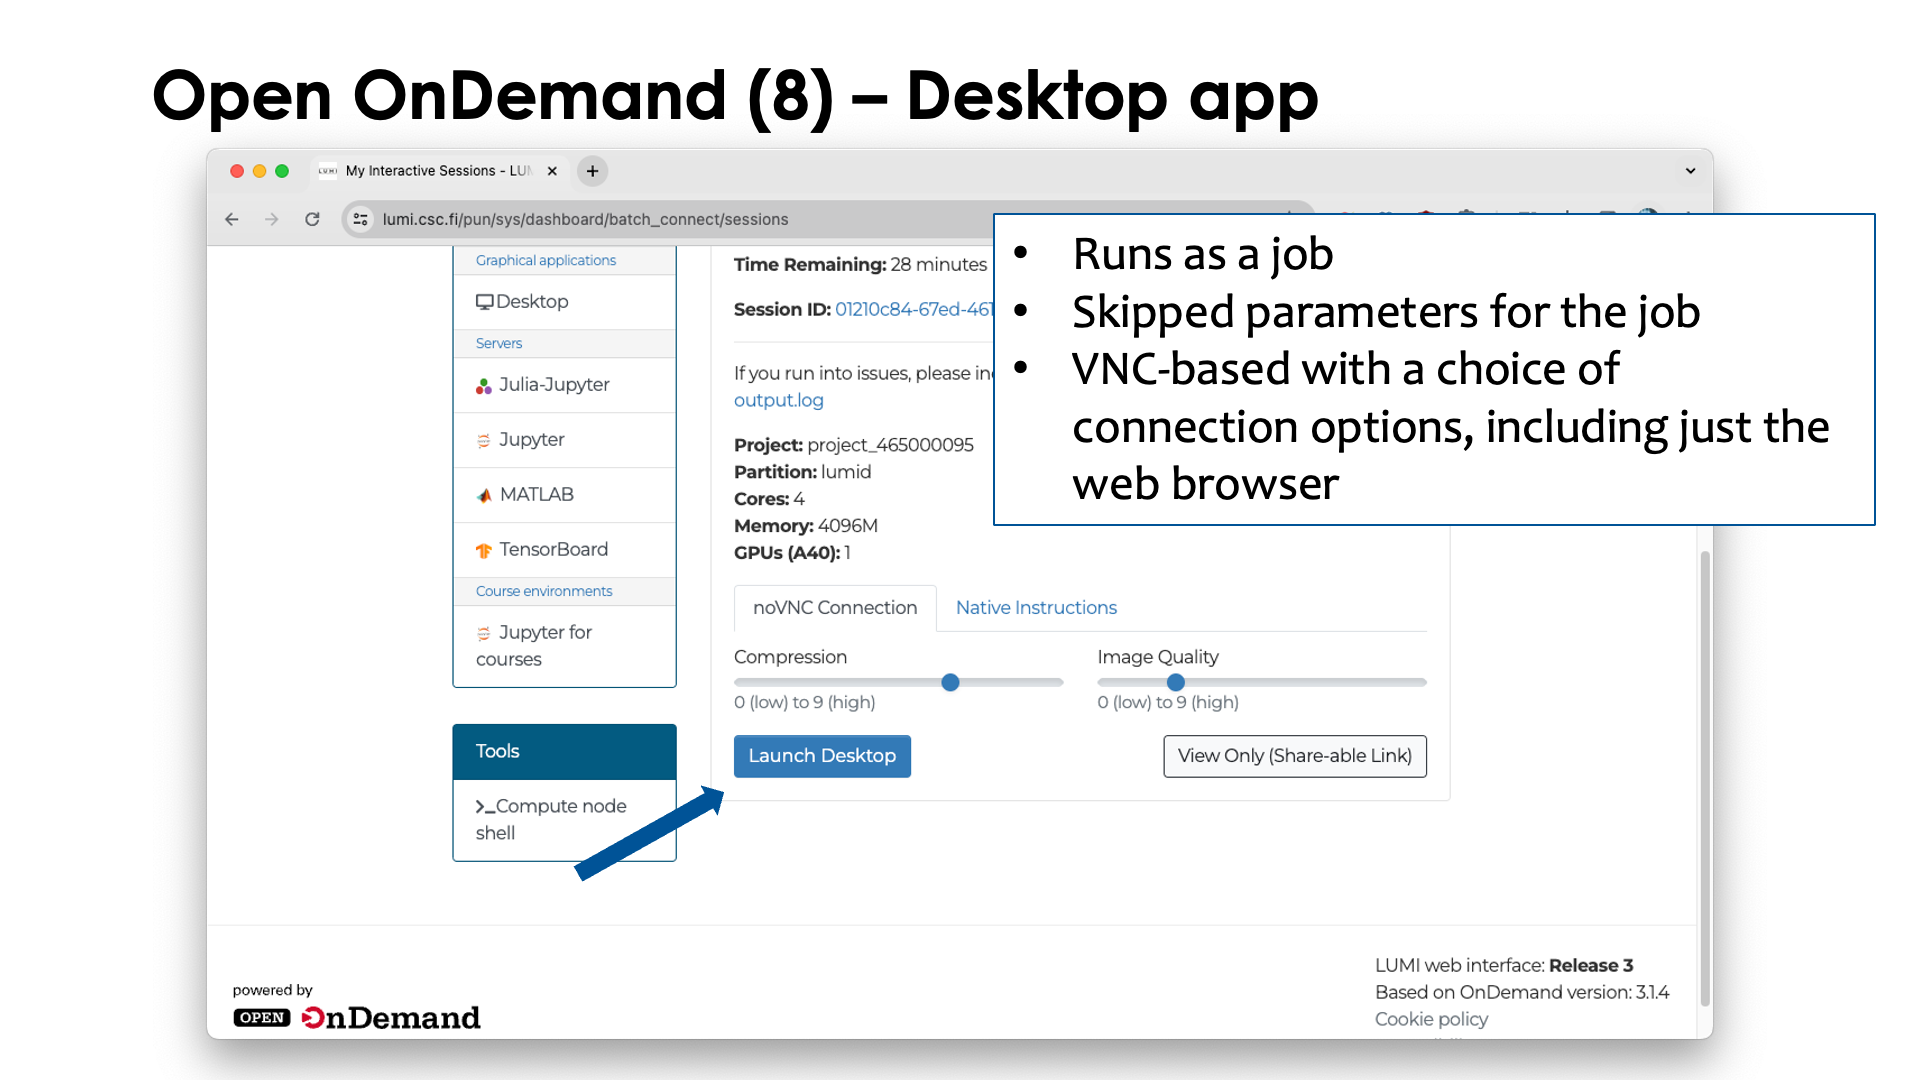
This app needs to run in the context of a job
and although it can run on several partitions on LUMI, its main use is to be able to use some
visualisation applications, so your best choice is likely to use the partition lumid with visualisation
GPUs (see the session on Slurm). As we have not discussed jobs yet, we will not give more details
now on how to fill in the form that is presented to you.
Now click "Launch" to launch the job, and after a while, you'll see a screen similar to
The desktop is basically run in a VNC session, a popular protocol for remote desktop support in Linux. It can be used through a web browser, which is what you get if you click the "Launch Desktop" button, but there are other choices also.
After launching/connecting to the desktop you get:
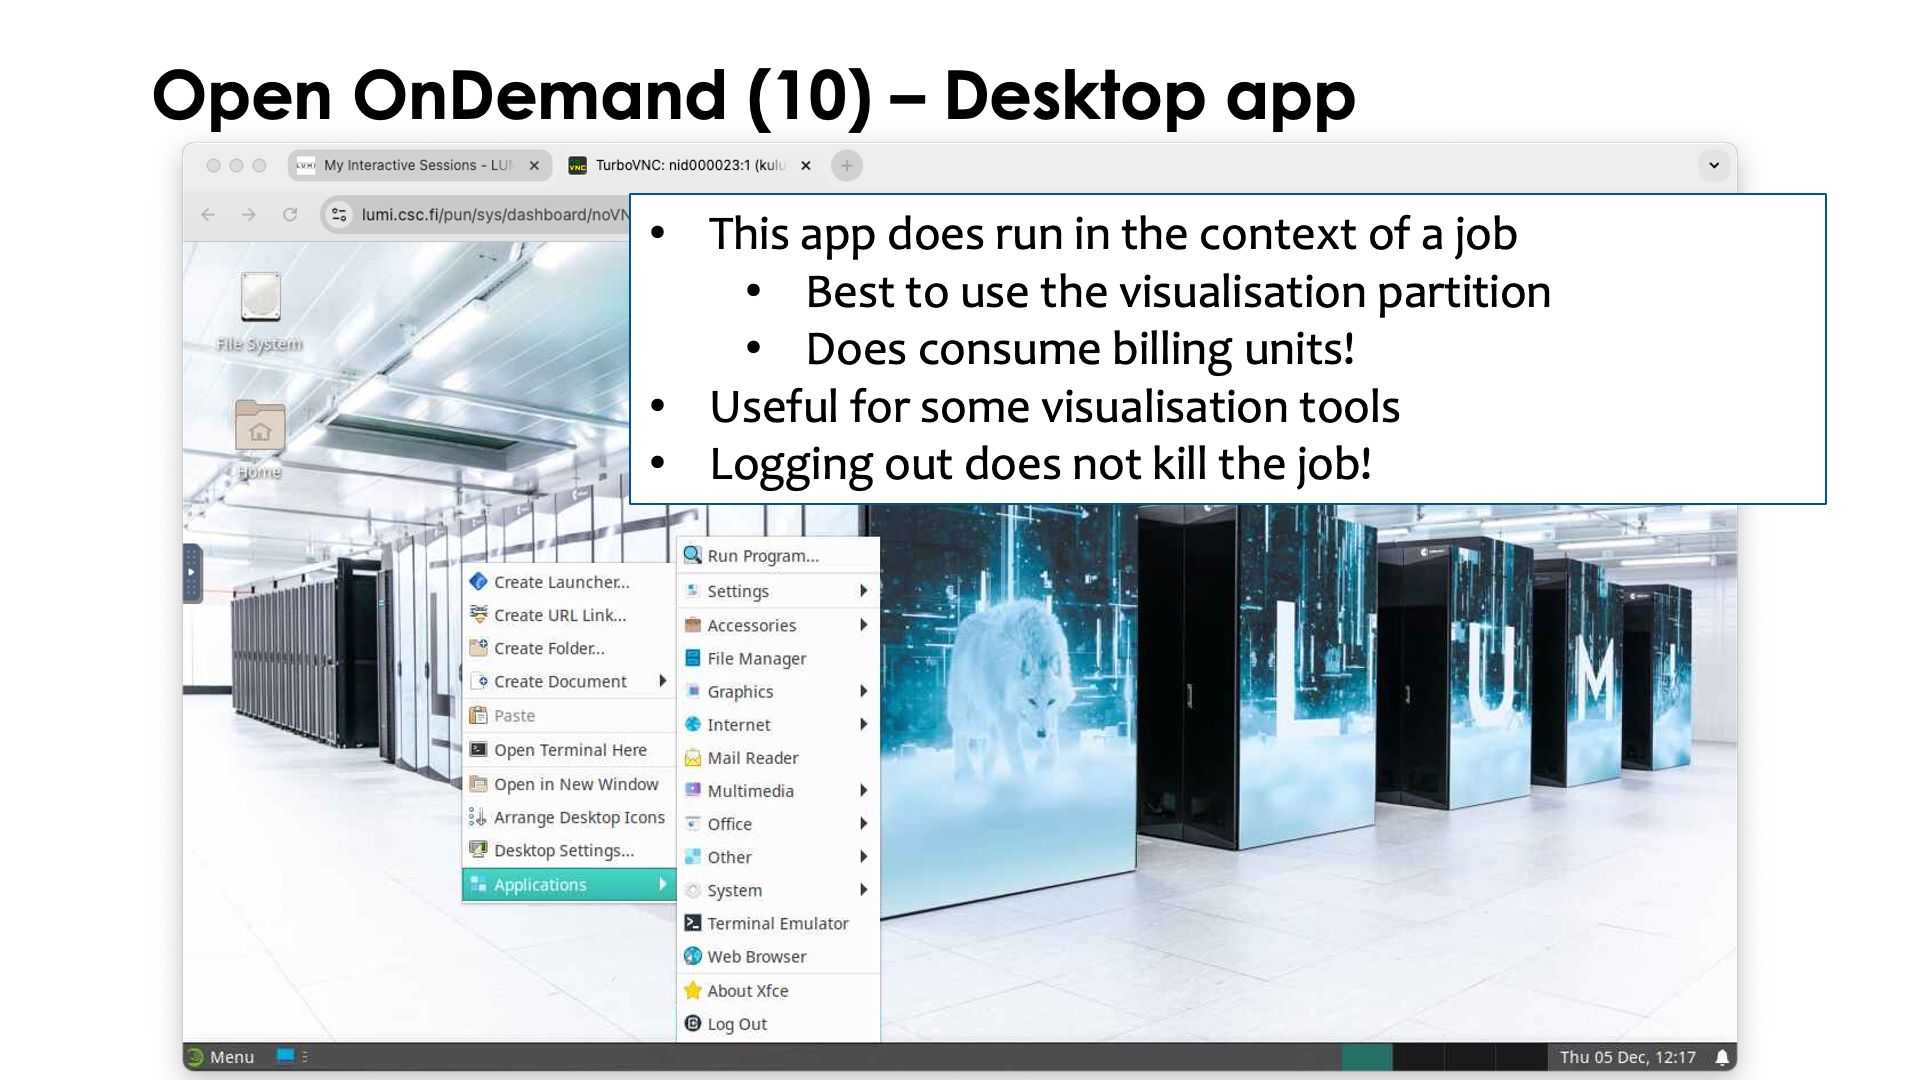
There is a small settings menu hidden at the left to do some settings of the web interface that we are using here. Right-clicking with the mouse on the desktop gives you a menu with a number of applications.
Note that using "Logout" in this menu is not enough to kill the job. You can do so though with the
Cancel button in the tab where we clicked the "Launch Desktop" button.
This is in no means meant to be a replacement of your own workstation, so the software choice is limited and will remain limited. It should never be your main environment for all your work. LUMI is not meant to simply provide small workstations to all of Europe. And it will also react a lot slower than what you are used to from a workstation in front of you. This is 100% normal and simply the result of using a computer which is far away so there is a high network latency.
Data transfer
There are currently two main options to transfer data to and from LUMI.
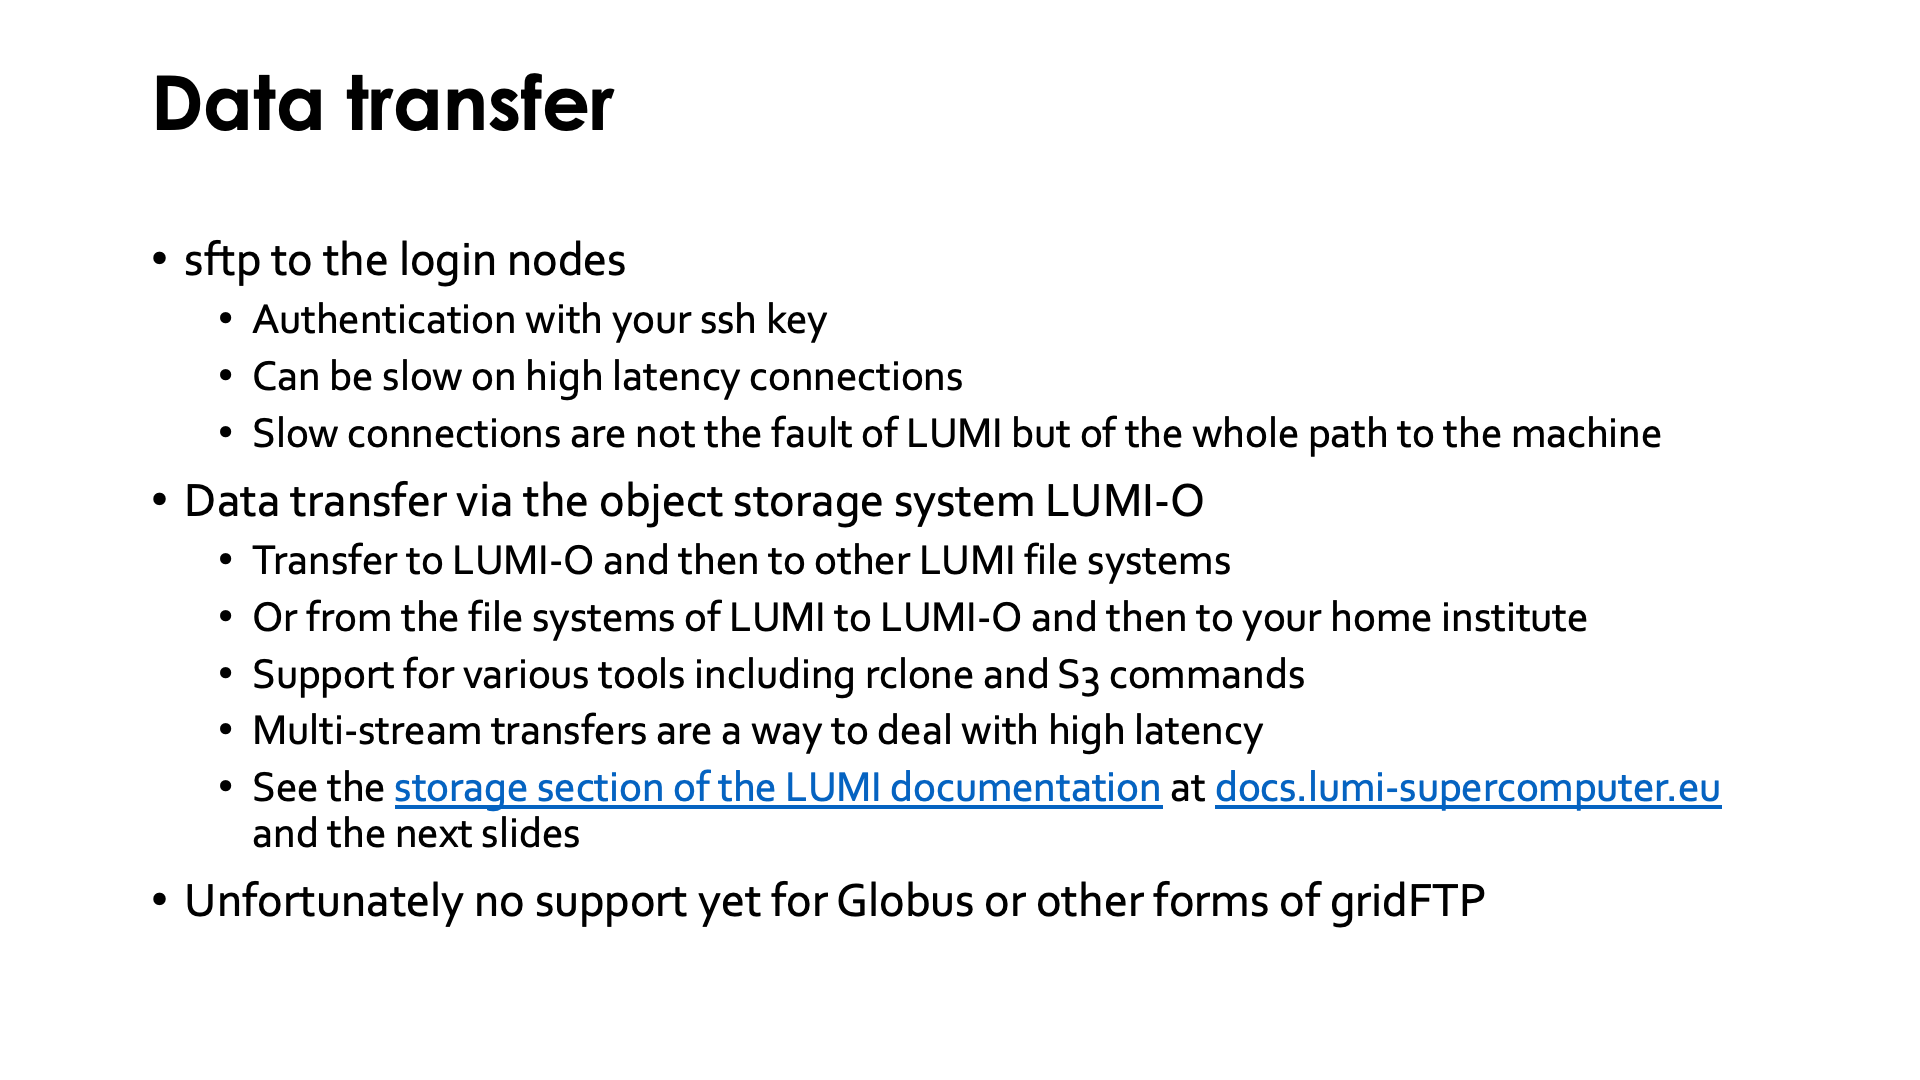
The first one is to use sftp to the login nodes (or any other protocol that goes over the
ssh daemon, like rsync over an ssh connection), authenticating via your ssh key.
There is a lot of software available for all major operating systems, both command line
based and GUI based. The sftp protocol can be very slow over high latency connections.
This is because it is a protocol that opens only a single stream for communication
with the remote host, and the bandwidth one can reach via a single stream in the
TCP network protocol used for such connections, is limited not only by the bandwidth of
all links involved but also by the latency. After sending a certain amount of data, the
sender will wait for a confirmation that the data has arrived, and if the latency is
high, that confirmation takes more time to reach the sender, limiting the effective
bandwidth that can be reached over the connection. LUMI is not to blame for that;
the whole path from the system from which you initiate the connection to LUMI
is responsible and every step adds to the latency. We've seen many cases where the
biggest contributor to the latency was actually the campus network of the user.
And it is the very nature of a TCP connection that the effective bandwidth over
a link becomes lower the higher the latency is. So the solution is to go to
data transfer methods that use multiple TCP connections to get the full bandwidth
of the connection.
The second important option is to transfer data via the object storage system LUMI-O. To transfer data to LUMI, you'd first push the data to LUMI-O and then on LUMI pull it from LUMI-O. When transferring data to your home institute, you'd first push it onto LUMI-O from LUMI and then pull the data from LUMI-O to your work machine. LUMI offers some support for various tools, including rclone and S3cmd. There also exist many GUI clients to access object storage. Even though in principle any tool that can connect via the S3 protocol can work, the LUMI User Support Team nor the local support in Belgium can give you instructions for every possible tool. Those tools for accessing object storage tend to set up multiple data streams and hence will offer a much higher effective bandwidth, even on high latency connections.
Alternatively, you can also chose to access external servers from LUMI if you have client
software that runs on LUMI (or if that software is already installed on LUMI, e.g., rclone
and S3cmd), but neither the LUMI User Support Team not the Belgian local support teams
can tell you how to configure tools to use an external service that they don't have access
to. But, e.g., the VSC Tier-0 support team might be able to help you to configure a tool
to access the data services that VSC offers.
Using the LUMI-O object storage will be further discussed in the "LUMI-O Object Storage" session of this course.
Unfortunately there is no support yet for Globus or other forms of gridFTP, another technology that sets up multiple connections to improve the effective bandwidth. LUST offers a recipe to install the UNICORE UFTP client if you have access to a UFTP server (still popular in Germany), but neither LUST nor local Belgian support teams can offer true support for that either as they have no access to such server. How to work with these recipes, is discussed in the "LUMI Software Stacks" session of this course.
Local trainings in Belgium
Any HPC introductory training in Belgium covers logging in via ssh and transferring files. Such a course is a prerequisite for this course.